
Frames & animation
Animate a small sprite, adjust its timing, and define named ranges.
The frame strip is at the bottom of the editor. Each thumbnail is a complete frame of the sprite, with its layers composited together. Click one to edit it.
Tutorial: animate the potion bubble
Start with the bottle from Your first sprite, or download the finished asset to inspect it. The finished asset already has four frames; start from your own one-frame bottle if you want to follow the steps below.
- On frame 1, select Highlights. Keep the two-pixel reflection at
(5,9)and(5,10), and put the bubble at(8,11). - Click Duplicate in the frame header. It copies the frame's pixels on every layer.
- On the new frame, erase only the bubble and draw it one pixel higher, at
(8,10). - Duplicate again, moving the bubble to
(8,9), then once more to(8,8). You now have four frames with the same bottle and a rising bubble. - Shift-click from the first thumbnail to the last to select the four frames. Click the duration button in the header (for example,
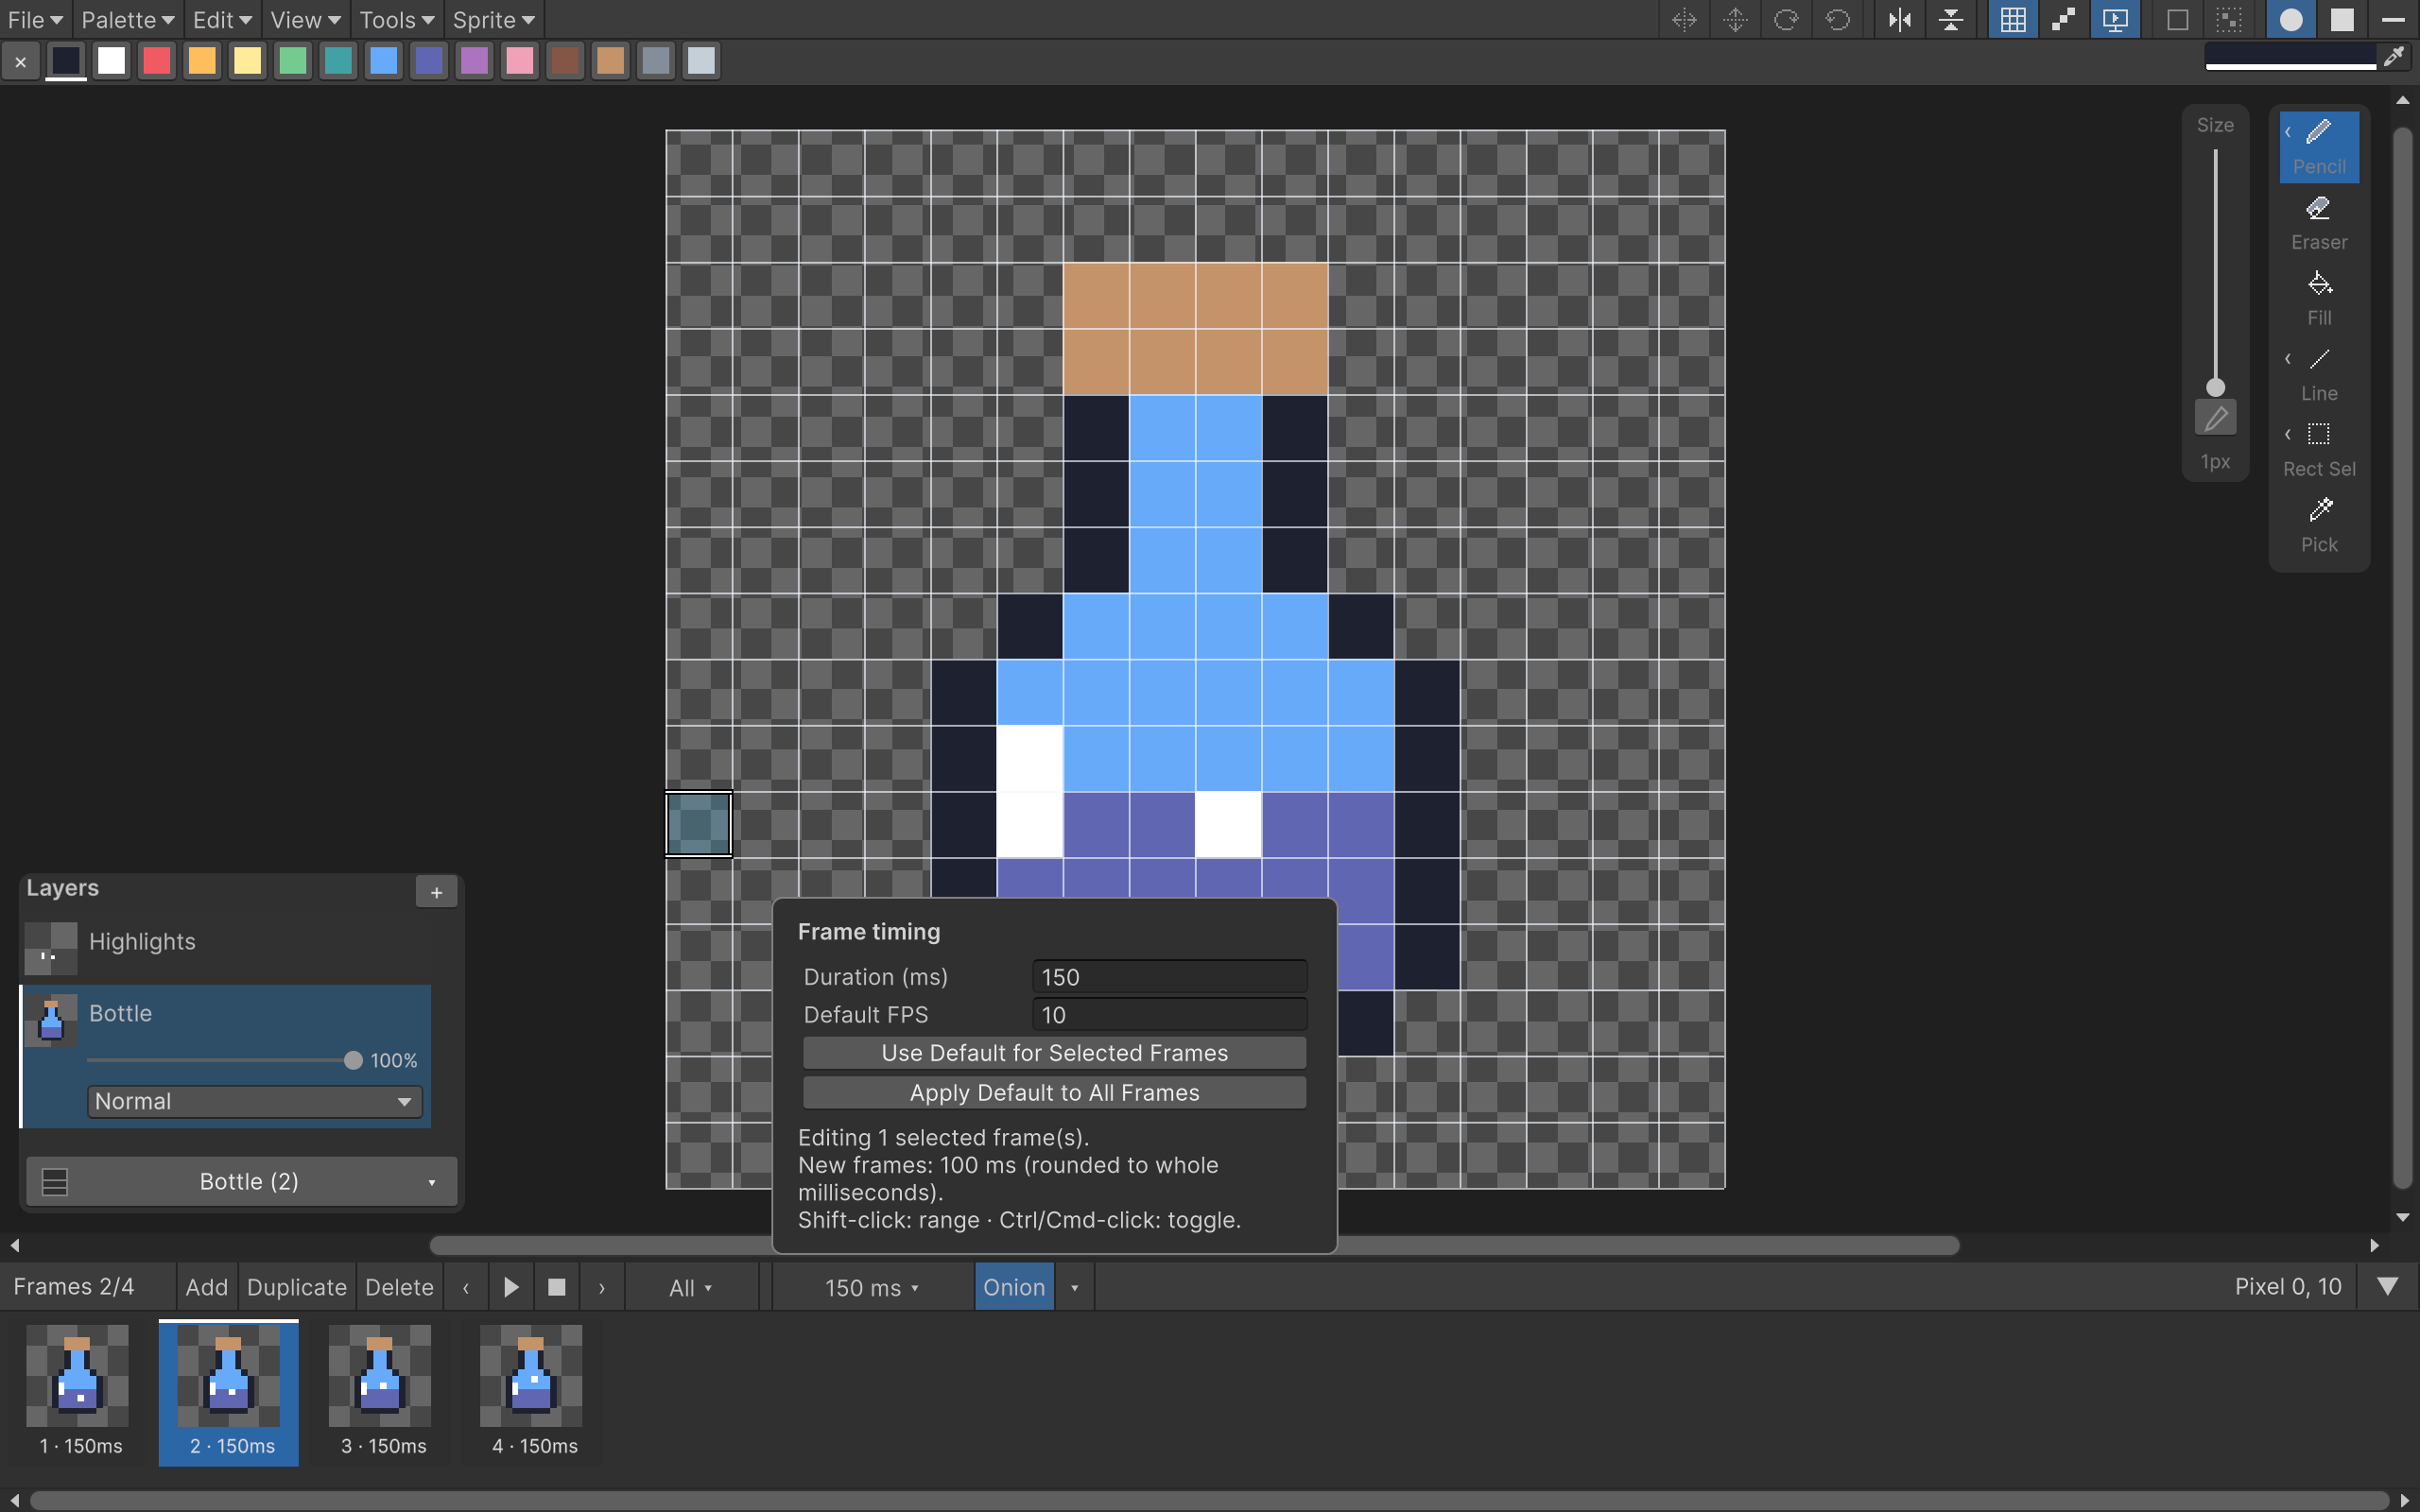
100 ms ▾), enter 150 in Duration (ms), and press Enter. The value applies to the selected frames. - Press P to preview. The bubble rises and starts again. Press P to pause.
Keep the highlight in the same place in each frame. If you accidentally paint the bottle instead, check the active layer before continuing.
Timing and onion skins
The duration button opens Frame timing. Editing Duration (ms) changes the selected frames. Default FPS controls timing for new blank frames; changing it alone doesn't retime existing ones. Use Use Default for Selected Frames or Apply Default to All Frames when you want that default applied to existing artwork. Duplicate keeps the copied frame's duration.
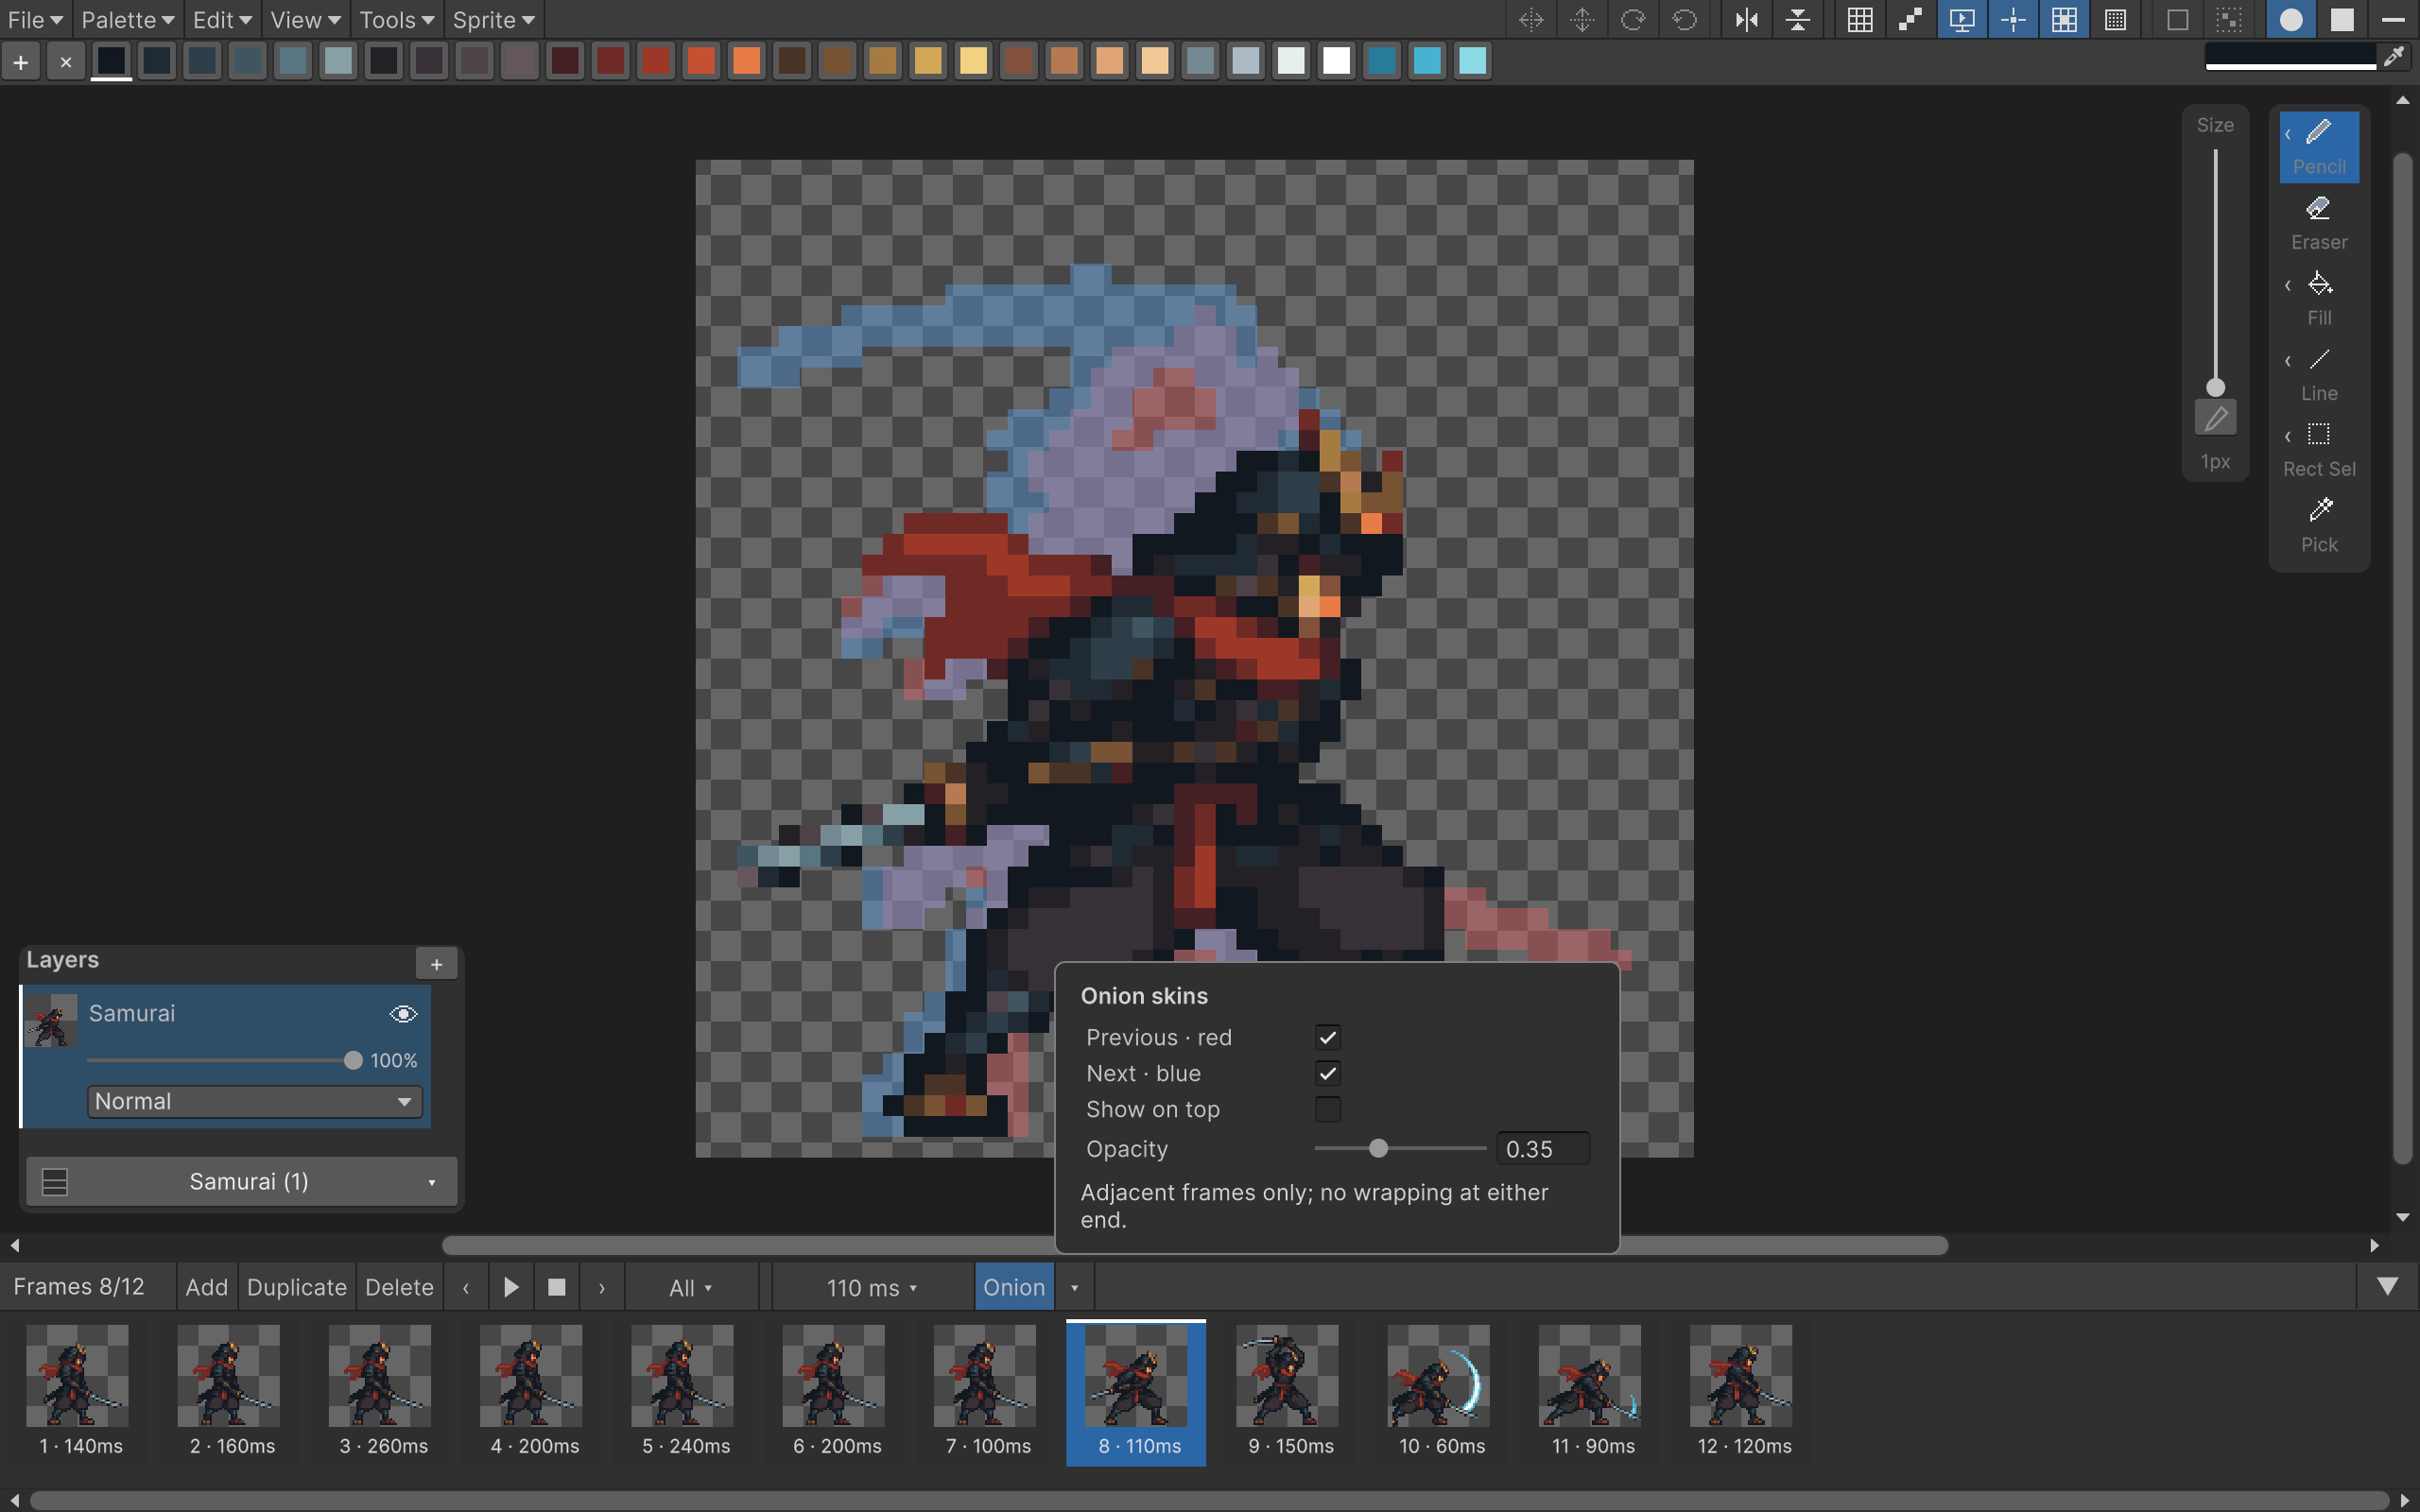
Toggle Onion to see adjacent frames while drawing. Previous is red; next is blue. Its arrow opens direction, opacity and draw-order options. Enable Show on top to see the guides over the current artwork; leave it off to draw them behind it. With the option off, an opaque background can hide the guides. They don't wrap around at the ends and don't appear in exported sprites or scene previews.
Organize the frames
- Add inserts a blank frame after the active frame.
- Duplicate copies selected frames as a block after the last selected frame.
- Delete removes selected frames. You must keep at least one.
- Shift-click selects a contiguous range; Cmd/Ctrl-click toggles individual frames.
- Ctrl/Cmd-drag from a thumbnail to select a continuous span. The canvas shows the frame under the pointer. Drag back toward the starting frame to shrink the selection; cross it to select in the other direction. This replaces the previous frame selection.
- Drag thumbnails without Ctrl/Cmd to reorder frames. A selected block moves together in timeline order. Dragging near an edge scrolls the strip in either mode.
Painting and selection operations affect all selected frames and layers. Click a single thumbnail without modifiers to return to editing one frame. Duplicate, delete and timing also use the selected frames; export scope is configured separately in the Export window. See editing several frames and layers before making a shared change across an animation.
Named animation ranges
A range names an inclusive span of frames in the same asset. For example, KuroganeSamurai contains Idle and Attack in one .pixart file.
Select the frames, then click All ▾ (or the current range name) in the frame header and New Range. First and last are filled from the earliest and latest selected frames. The range includes everything between them, even if your selection has gaps. Enter a name, adjust the boundaries if needed, select Loop / Once / Ping-pong, and press Create Range. For the potion, use Bubble, frames 1–4, and Loop.
Creating a range takes its frames out of older ranges. An overlap at either end shortens the older range. If it takes frames from the middle and leaves two separate pieces, the older range is deleted entirely. A fully covered range is deleted too. This removes the range definition; all artwork stays in the timeline.
For an existing Idle, frames 1–10:
| New range | What happens to Idle |
|---|---|
| Attack, 1–3 | Idle becomes 4–10 |
| Attack, 8–12 | Idle becomes 1–7 |
| Attack, 4–6 | Idle is deleted |
| Attack, 1–10 | Idle is deleted |
One Undo removes the new range and restores every older range it changed. This takeover happens when you create a range; editing an existing range or reordering frames keeps the existing boundary behavior.
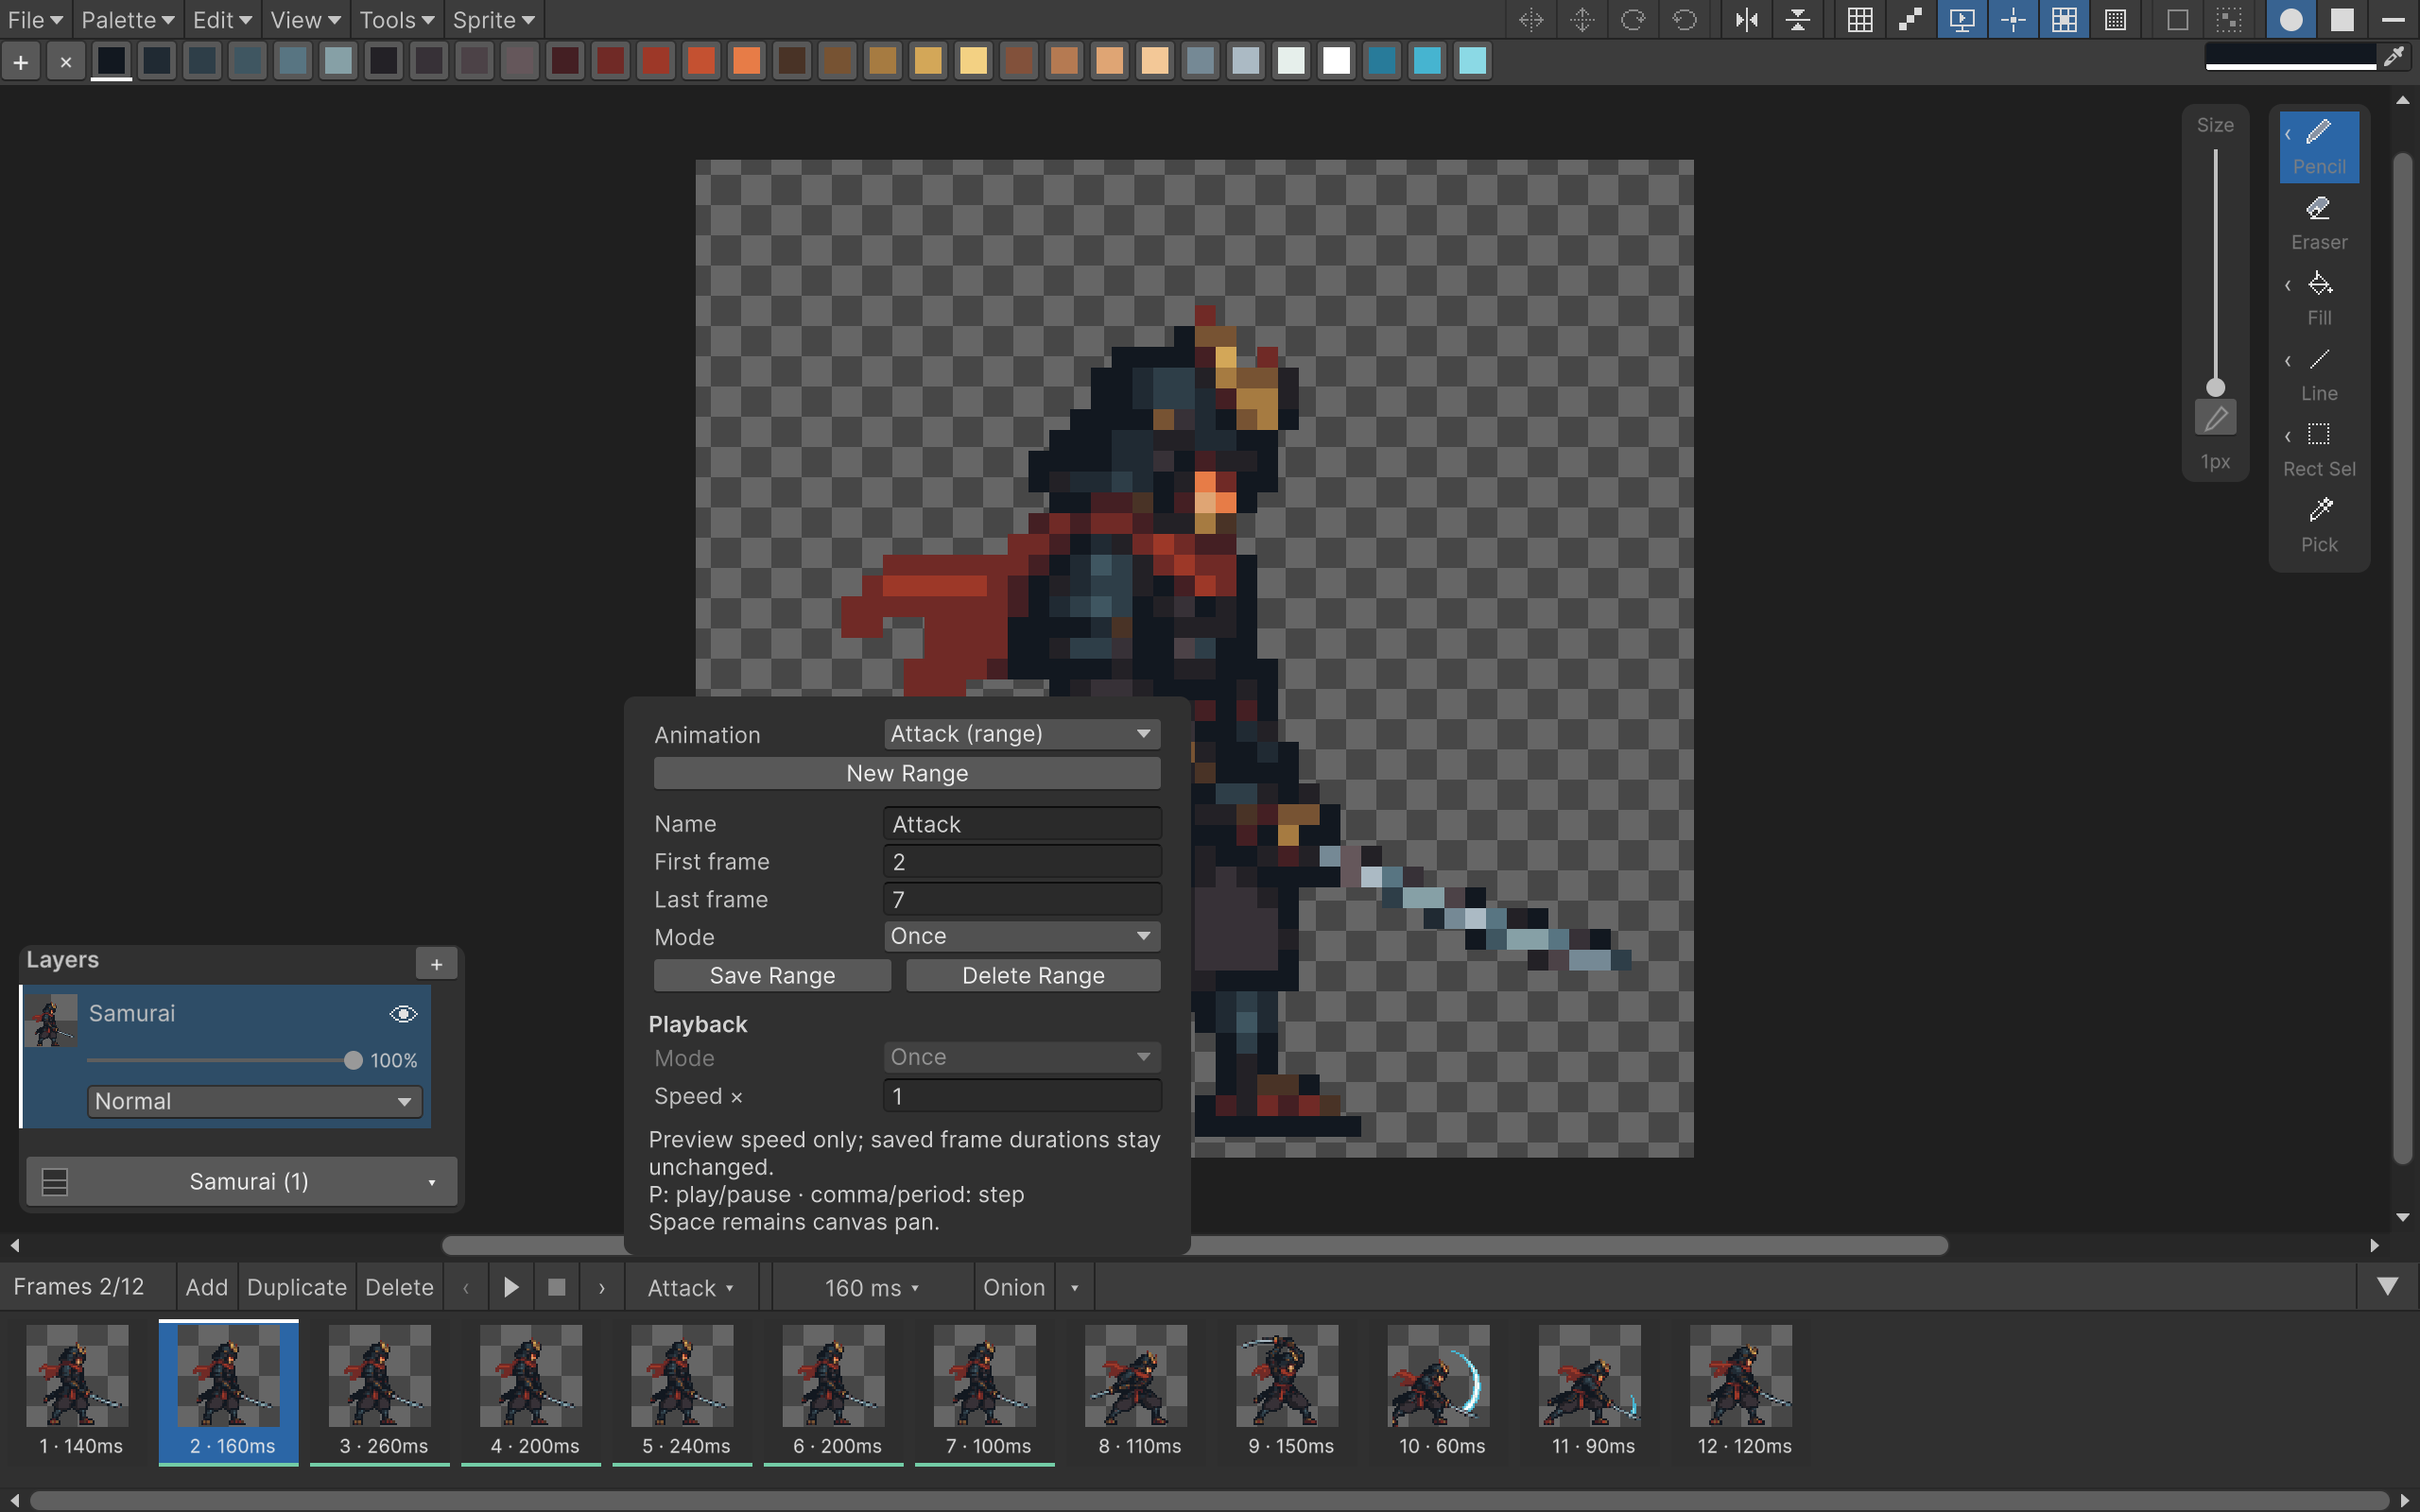
Clicking a thumbnail switches playback to a range containing that frame. A frame outside every range switches to All Frames. If ranges overlap, Pixart keeps the current range when it contains the frame; otherwise it chooses the first matching range in the dropdown.
You can also select a range from the Animation dropdown to preview only that span, or choose All Frames to preview the whole timeline. The previous/next buttons and comma/period keys stay within that choice. Save Range updates its definition; Delete Range deletes the definition and leaves the frames intact.
Ranges follow their boundary frames when you reorder the timeline. Frames inserted between those boundaries join the range. Deleting a boundary shrinks it to surviving frames; deleting its last remaining frame removes the range. Names must be unique, ignoring case.
Playback controls
Use previous, play/pause, stop and next in the header. Comma / period step frames and P toggles playback. Space stays assigned to canvas panning.
Loop repeats; Once plays through the final frame's hold and stops; Ping-pong travels forward and backward without holding the endpoints twice. The playback popup also has a preview-speed multiplier. A named range uses its saved mode; All Frames has its own preview mode.
Drawing or selecting a thumbnail pauses preview so you edit a fixed frame. This editor preview is independent from animation in your scene. To run the animation in a game, continue with runtime playback.