Layers
Keep parts of your artwork separate, then combine them when needed.
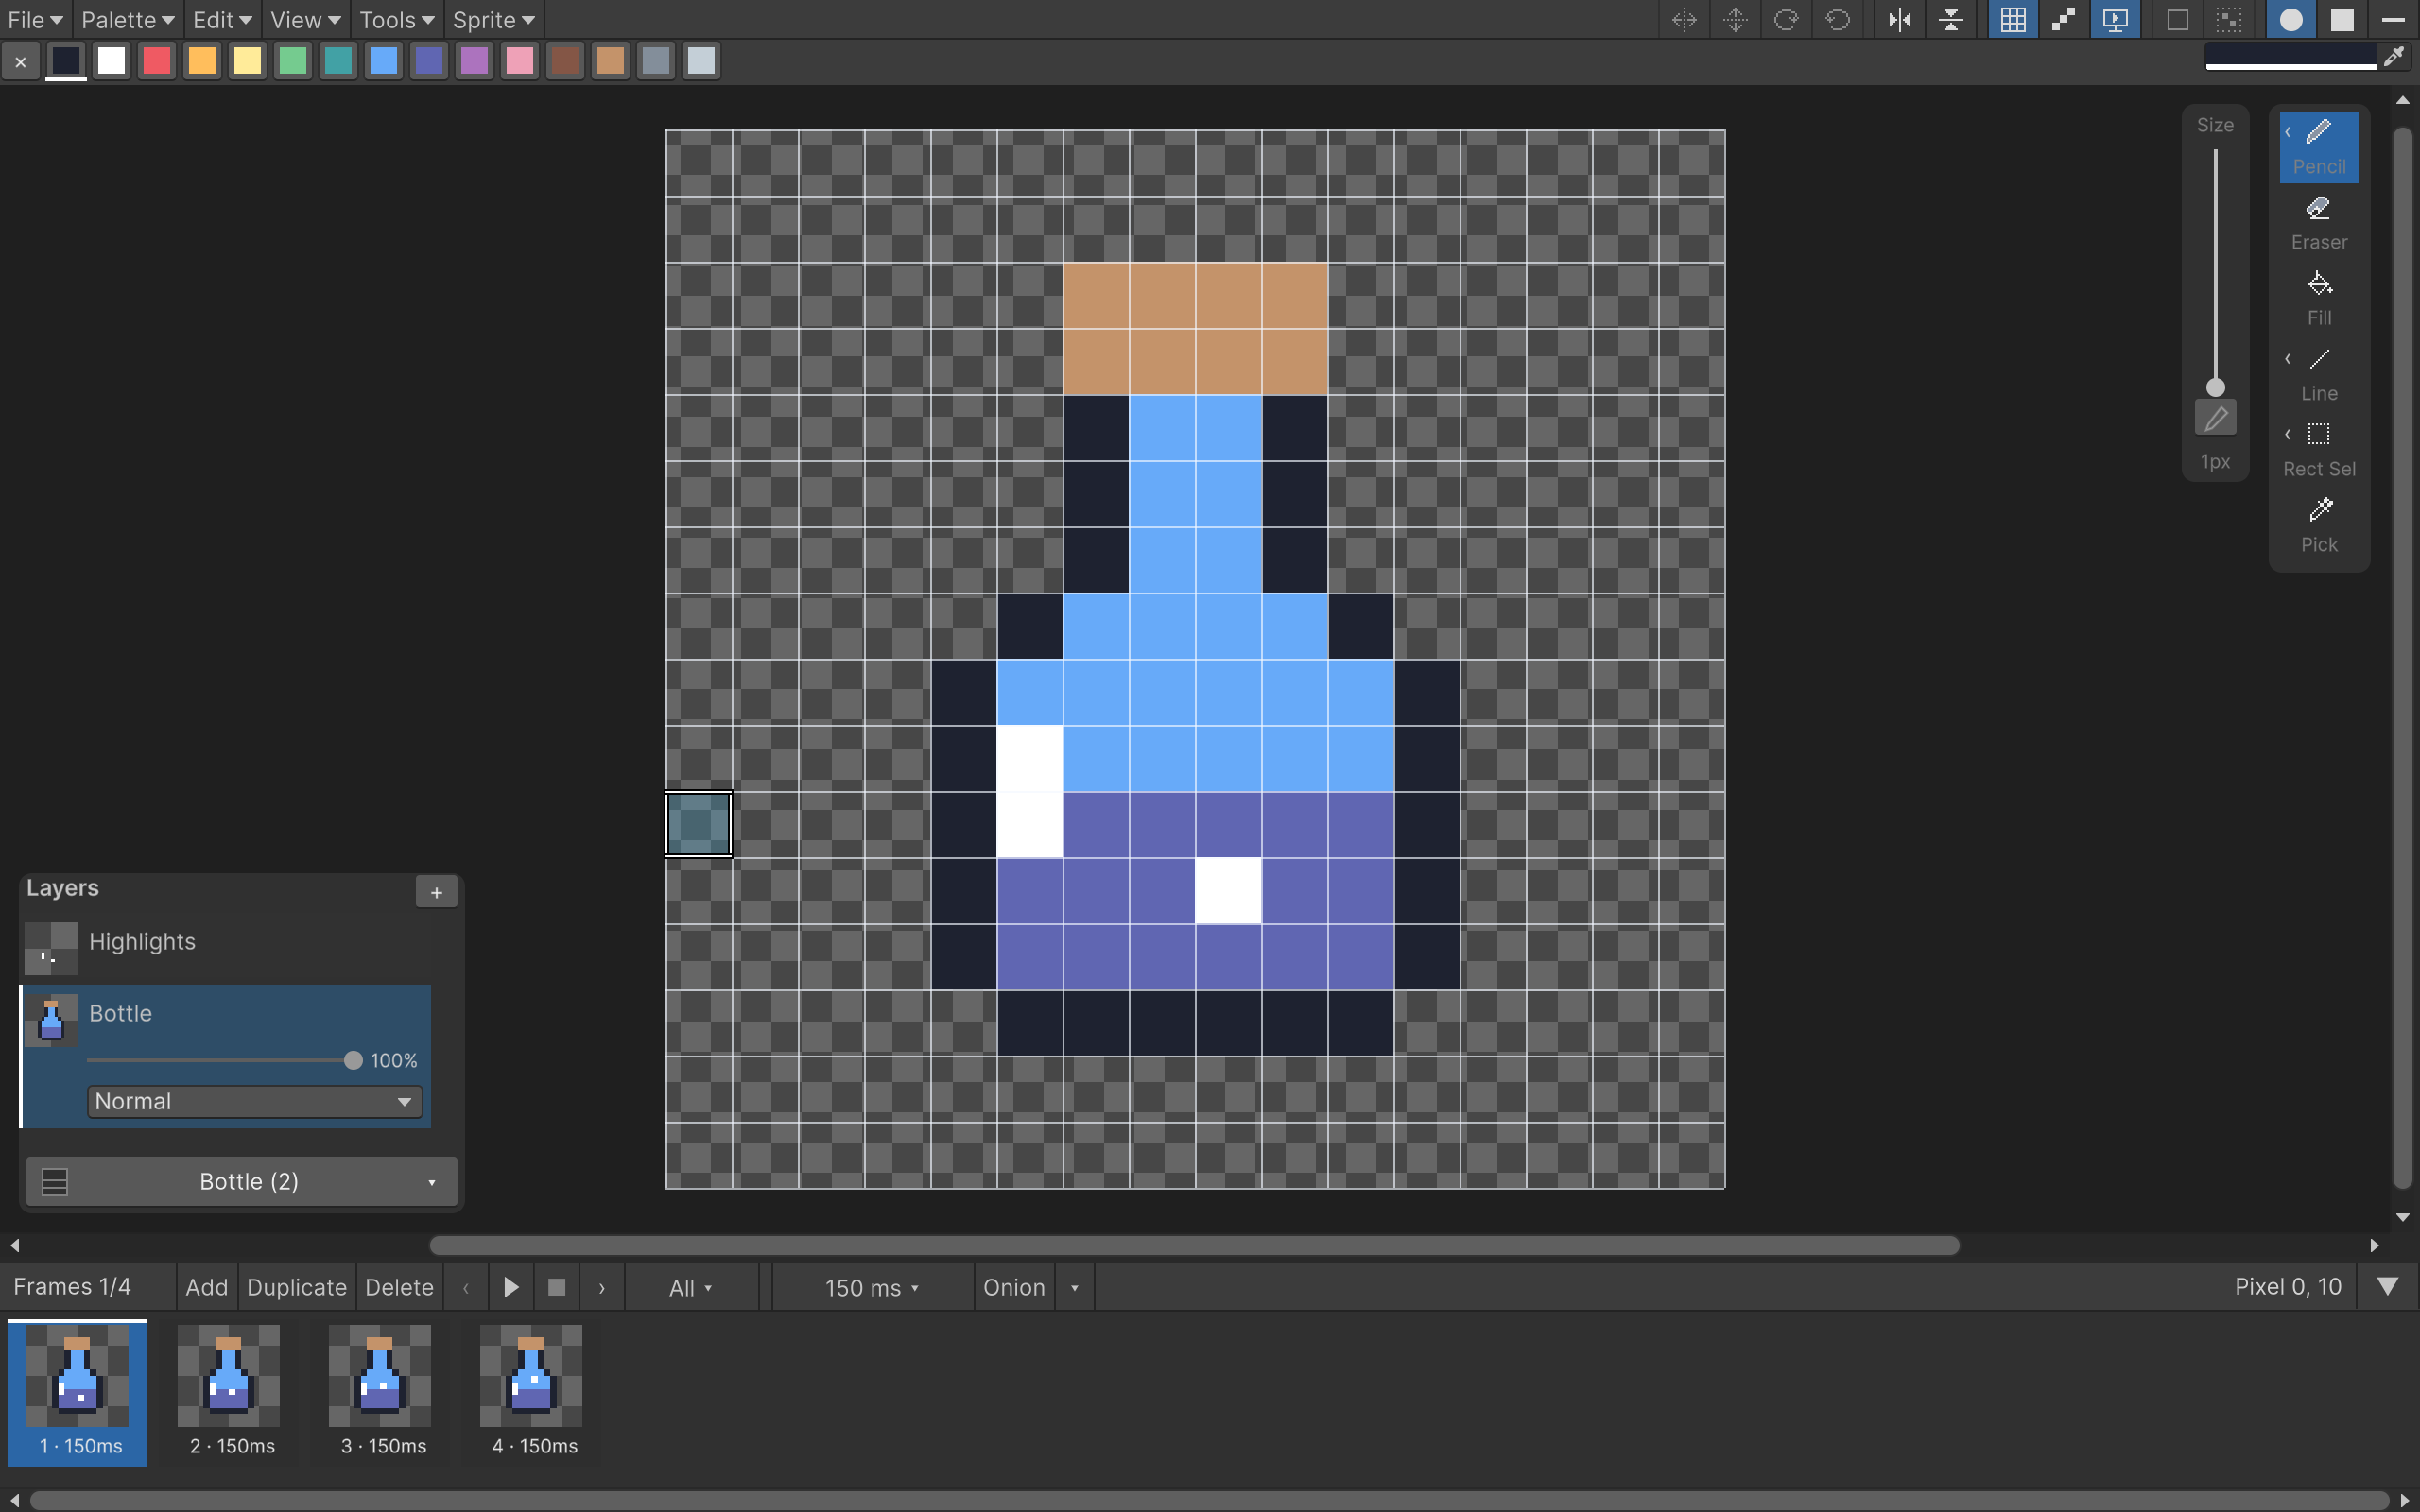
Click the layer button at the bottom-left of the canvas to open the overlay. It stays open while you paint; click the button again to fold it away. The top row is the topmost layer in the image.
Each row has a thumbnail and name. Click it to select only that layer. Cmd/Ctrl-click toggles additional layers; Shift-click selects a range. Only the active row shows its opacity slider and blend dropdown underneath.
Edit several layers
Switching layers keeps your canvas selection. If you were moving, resizing or pasting pixels, that result is committed on the previous layer. The outline stays where it was, ready to edit the new layer’s pixels. Ctrl/Cmd-click and Shift-click layer selection keep it too.
Painting and selection operations apply to every selected layer on every selected frame. For example, selecting Bottle and Highlights across four frames lets you move the whole potion animation in one operation. The canvas still displays the active frame, with its visible layers composited together.
The visibility button, opacity slider, blend dropdown, rename and row context menu act on the layer you are editing; selecting several layers does not batch those controls. Hidden or locked layers in the selected set block a painting operation. Show/unlock them, or deselect them first.
Multi-frame and multi-layer editing covers the selection controls and clipboard behavior.
Basic operations
Press + to insert an empty layer above the active one. Double-click a layer name to rename it; Enter keeps the name and Escape cancels the rename.
Click the eye icon at the right of a layer row to hide or show that layer. The icon becomes a crossed-out eye when hidden. Clicking it keeps your active layer and layer selection. Visibility changes support Undo/Redo.
Right-click a row for Duplicate, Merge Down, Delete, Visible, Locked, Move Up and Move Down. At least one layer must remain in the document. Hidden or locked layers can't be painted on.
Layers are shared across the document's frames. Duplicating a layer copies its pixels across all frames, and deleting it removes it from all frames. The thumbnail shows the currently selected frame.
Opacity and blending
Opacity affects how the layer combines with the layers below it. Available blend modes are Normal, Multiply, Screen, Overlay, Add and Subtract. The editor, thumbnails, saved sprites and exported PNGs use the same compositing rules.
For the potion tutorial, leave both layers at Normal and 100%. If you're making a shadow or glow, try another blend mode and lower the opacity while checking it against the underlying artwork.
Merge Down
Merge Down combines a layer with the one immediately beneath it across every frame. Both layers must be visible and unlocked. Finish any active drawing or floating selection first.
The lower layer keeps its name. Merging reuses matching palette colors and adds any new colors needed for the result.
A merge can be refused when the palette would exceed 256 slots, or when blending with deeper layers prevents this pair from being merged without changing the final image. The Console explains why. In the latter case, merge the lower pair first, or leave the layers separate.
If new colors are needed while using a shared palette, merging makes the palette local. The shared asset isn't overwritten. Undo restores the layers and the palette link together.