
Selections
Move, resize, copy and transform the pixels you selected.
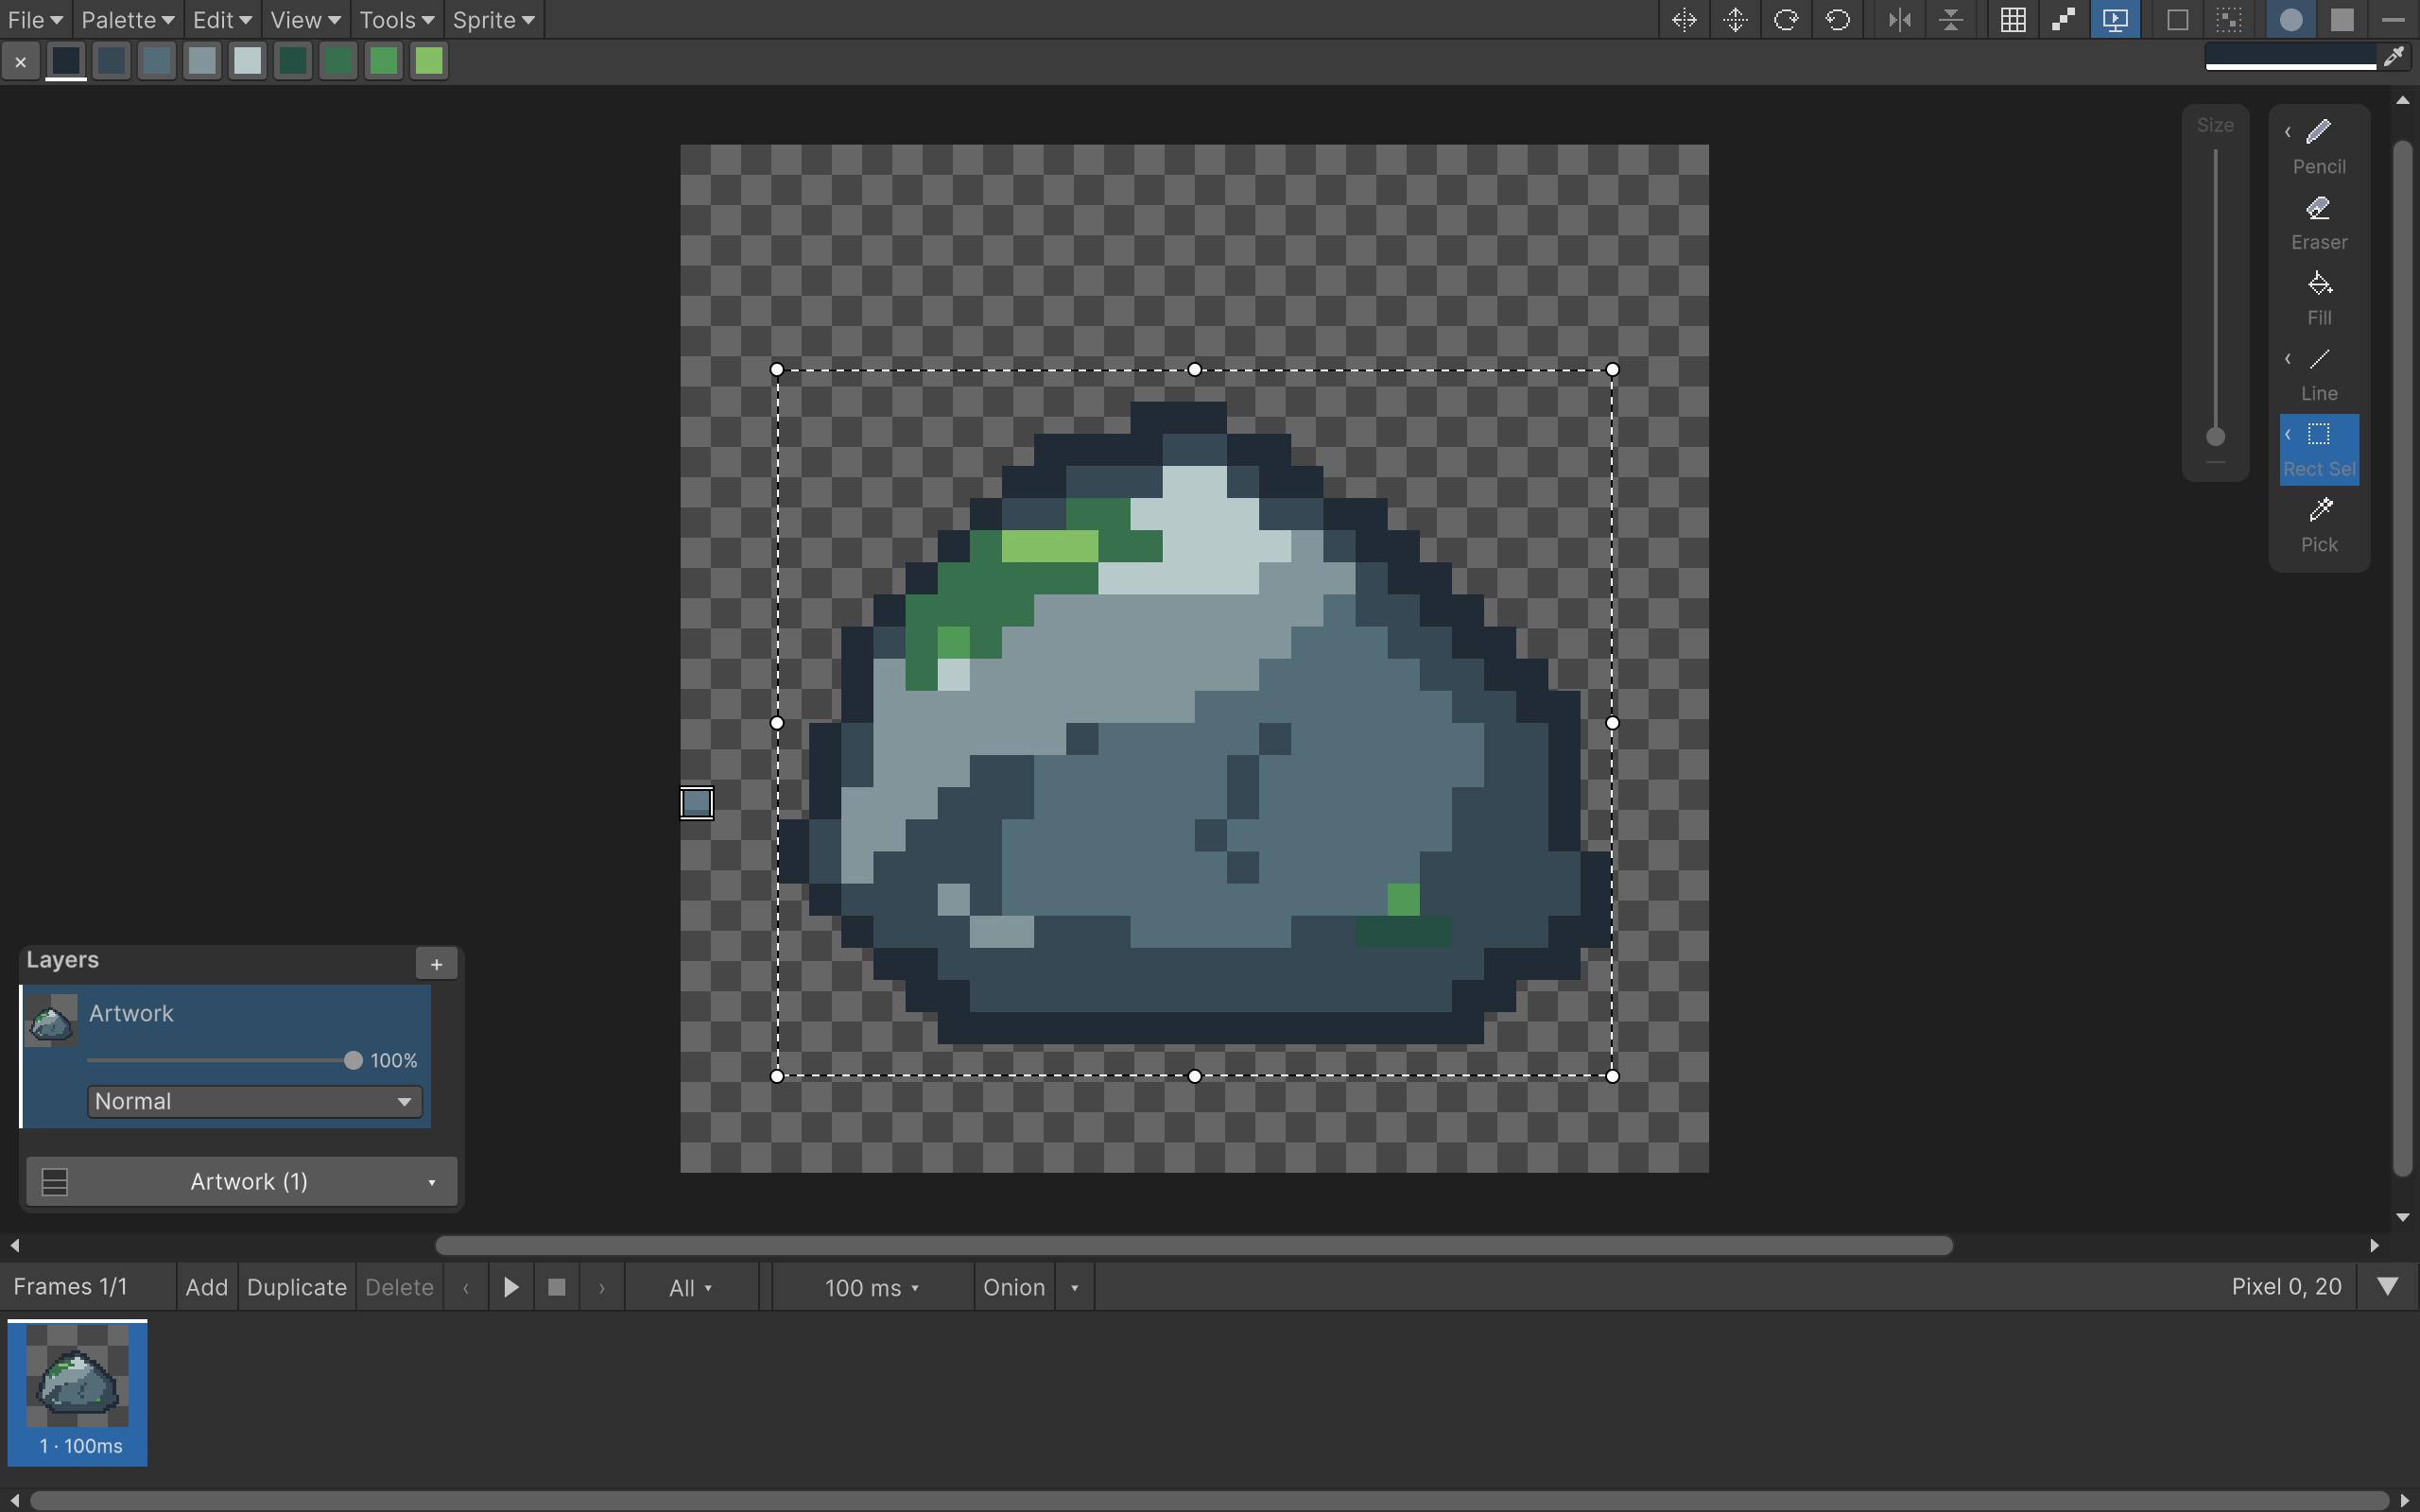
Choose the selection group on the right. You can select a rectangle, ellipse, connected color region or freehand lasso. The selection mask applies to the selected frames and layers. Each keeps its own pixels when you move or transform the selection.
| Tool | How to select |
|---|---|
| Rectangle (M) | Drag a rectangle; hold Shift for a square |
| Ellipse (Shift+M) | Drag an ellipse; hold Shift for a circle |
| Magic (W) | Click a connected region of the same color, or select every match |
| Lasso | Trace a shape; release to close the path |
A simple click isn't a new rectangular or elliptical selection. Drag over more than one pixel. Magic Select compares the colors on the active layer and frame. It does not sample the combined color of all visible layers.
Magic wand: connected or all matching
Select Magic with W. The Select All Matching icon in the top bar becomes available. You can also change it through Tools > Magic Wand > Select All Matching.
- Off: selects the matching region connected to the clicked pixel. Adjacency is up/down/left/right; touching corners alone does not connect regions.
- On: selects every pixel of that color on the active layer and frame, including separate islands.
Colors match by exact RGBA value, so two palette slots with identical colors both match. Fully transparent pixels count as the same transparent color. There is no tolerance slider.
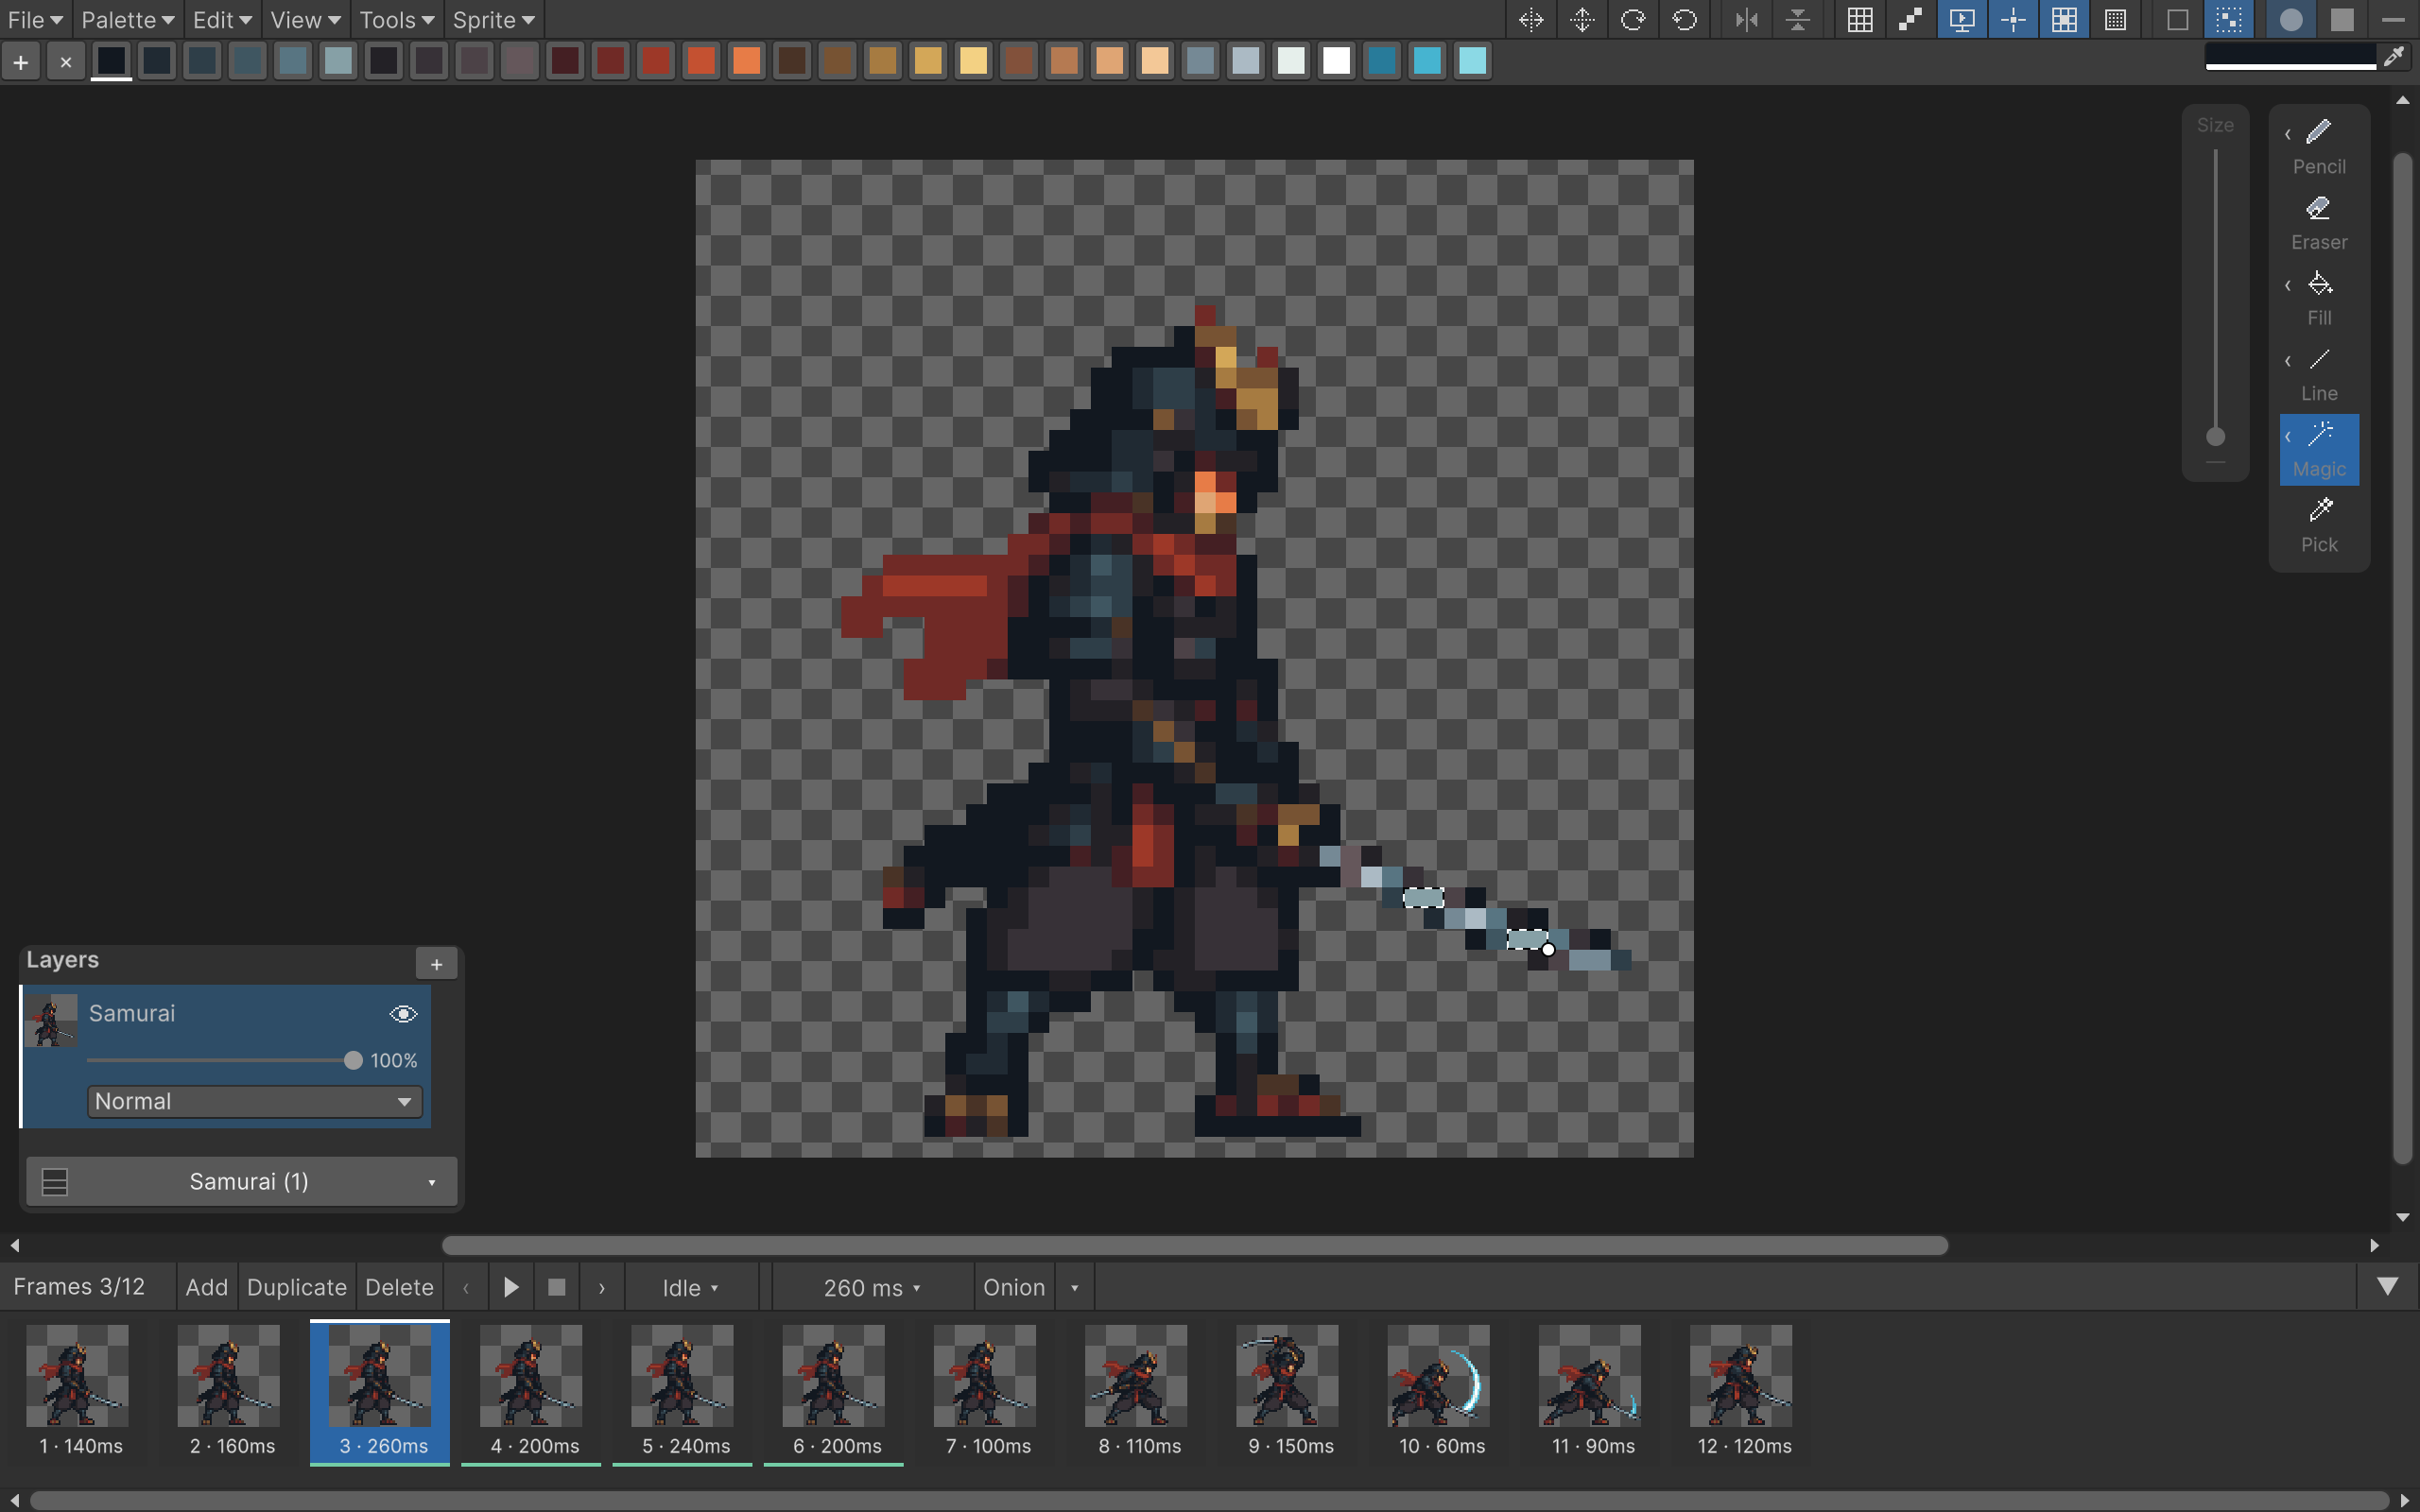
For example, select all matching armor highlights, switch to Pencil, and paint across the character. Only the selected islands receive paint. Moving, resizing, flipping, rotating, copying and cutting also preserve those gaps.
With multiple frames or layers selected, the wand builds the mask from the active frame and layer, then applies that same mask to the selected set. It does not search each target again for the color. See multi-edit.
Filling a selection
Choose a palette color and press F while the canvas has focus. Every selected pixel receives that color, including disconnected islands and transparent pixels inside the mask. The gaps between islands stay untouched. Your tool and selection stay active.
You can also choose Fill Selection from the Fill flyout and click the artwork. With no selection, this tool fills the whole frame on each selected layer. Flood Fill (G) only replaces the clicked palette index, but reaches matching pixels in every selected island.
Moving and resizing
Click and drag inside the selection to move its pixels. The arrow keys nudge by one pixel; Shift+arrows nudge by ten.
A rectangular selection has handles at its corners and edge centers. Other selection shapes have a handle at the bottom-right. Dragging a handle scales the selected pixels and mask with nearest-neighbor sampling.
Hold Shift while dragging any resize handle to keep the proportions from the start of that resize. Corner handles anchor the opposite corner. Edge handles anchor the opposite edge and expand or shrink the other dimension around the center. This also works with the single handle on ellipse, lasso and magic-wand selections. Sizes round to whole pixels.
You can press or release Shift during selection creation or resizing; the preview updates immediately, even with the mouse still. Release Shift to change width and height freely. Constrained selections stay within the available canvas area.
Click outside the selection to keep any moved or resized pixels and start selecting somewhere else. Magic Wand selects the new region immediately. With Rectangle, Ellipse or Lasso, hold the same press and drag to draw the next selection—there's no extra deselect click. A click without dragging only deselects for those tools. Clicking the canvas background outside the artwork also just deselects. Escape and Cmd/Ctrl+D also keep the result and deselect. Enter does nothing. Use Undo if you want to restore the pixels to where they were before the transform.
Switching focus to another Unity window doesn't discard the moved pixels. Switching layers keeps the selection outline in the same place, including irregular shapes and disconnected islands. Any floating pixels are committed on the old layer; the same mask then applies to the new layer's own pixels. Adding or removing layers from the selected set keeps the mask too. Changing frames clears it.
Copy, cut and paste
- Cmd/Ctrl+C: copy the carried pixels and keep the selection active.
- Cmd/Ctrl+X: copy those pixels to Pixart's clipboard, remove them, and end the selection.
- Cmd/Ctrl+V: paste at the position where the selection was copied or cut, as a floating selection. Move or resize it before clicking away.
- Delete / Backspace: clear selected pixels.
- Cmd/Ctrl+A: select the canvas.
These commands are also in Edit. Copying a moved selection uses the pixels you originally picked up, with the current resize applied. It doesn't sample whatever happens to be behind its new position. Transparent holes leave destination pixels visible when moving or pasting.
Paste remembers the selection's position at the moment you copy or cut, including any move or resize. It uses those coordinates on another layer or document too. If the patch would fall outside a smaller canvas, its starting position shifts inward to fit. A patch larger than the canvas starts at the top-left, with the excess outside the canvas; you can move or resize it before applying. An existing destination selection doesn't change the paste position.
Pixart has its own clipboard, shared between open documents. Pasting maps the copied colors into the destination palette. If there is no room for the required colors, the paste is rejected. Copying images from other applications is not supported; use Import instead.
Copying several frames/layers preserves their pixels separately. Paste into a selection with the same frame count and layer count. A single-frame, single-layer copy can also be pasted across multiple targets. The multi-edit guide explains the ordering.
Flip and rotate
With a selection active, use the top-bar buttons or Edit menu for Flip Horizontal, Flip Vertical, Rotate 90° Clockwise and Rotate 90° Anticlockwise. These transform the selection's pixels. The active layer must be visible and unlocked.
To transform an entire frame on one layer, select all first. With multiple targets selected, the same transform applies to their selected pixels too. Unselected frames and layers remain unchanged. See canvas size for changes that affect the complete asset.