
Using sprites in Unity
Use Live Previewer for editable artwork, Animator for playback, or ordinary Unity sprites.
There are three ways to use the artwork. Start with Pixart Live Previewer if you want to keep editing it while watching the scene.
| Workflow | What updates | Pixart dependency |
|---|---|---|
Live Previewer with a .pixart asset | Unsaved edits with Live Preview; saved artwork in builds | Pixart runtime component |
| Imported Sprite sub-asset on a standard SpriteRenderer | Saved/reimported artwork | Pixart importer in the editor |
| Exported PNG sprites | When you re-export | None for the exported output |
Create a live object
Save your sprite, then choose Sprite > Create Scene Object in Pixart. This creates a GameObject with Pixart Live Previewer and SpriteRenderer, with the asset assigned. It displays a static frame until you add animation.
For an existing object, use Add Component > Pixart > Pixart Live Previewer, then assign the asset. SpriteRenderer is added automatically if needed.
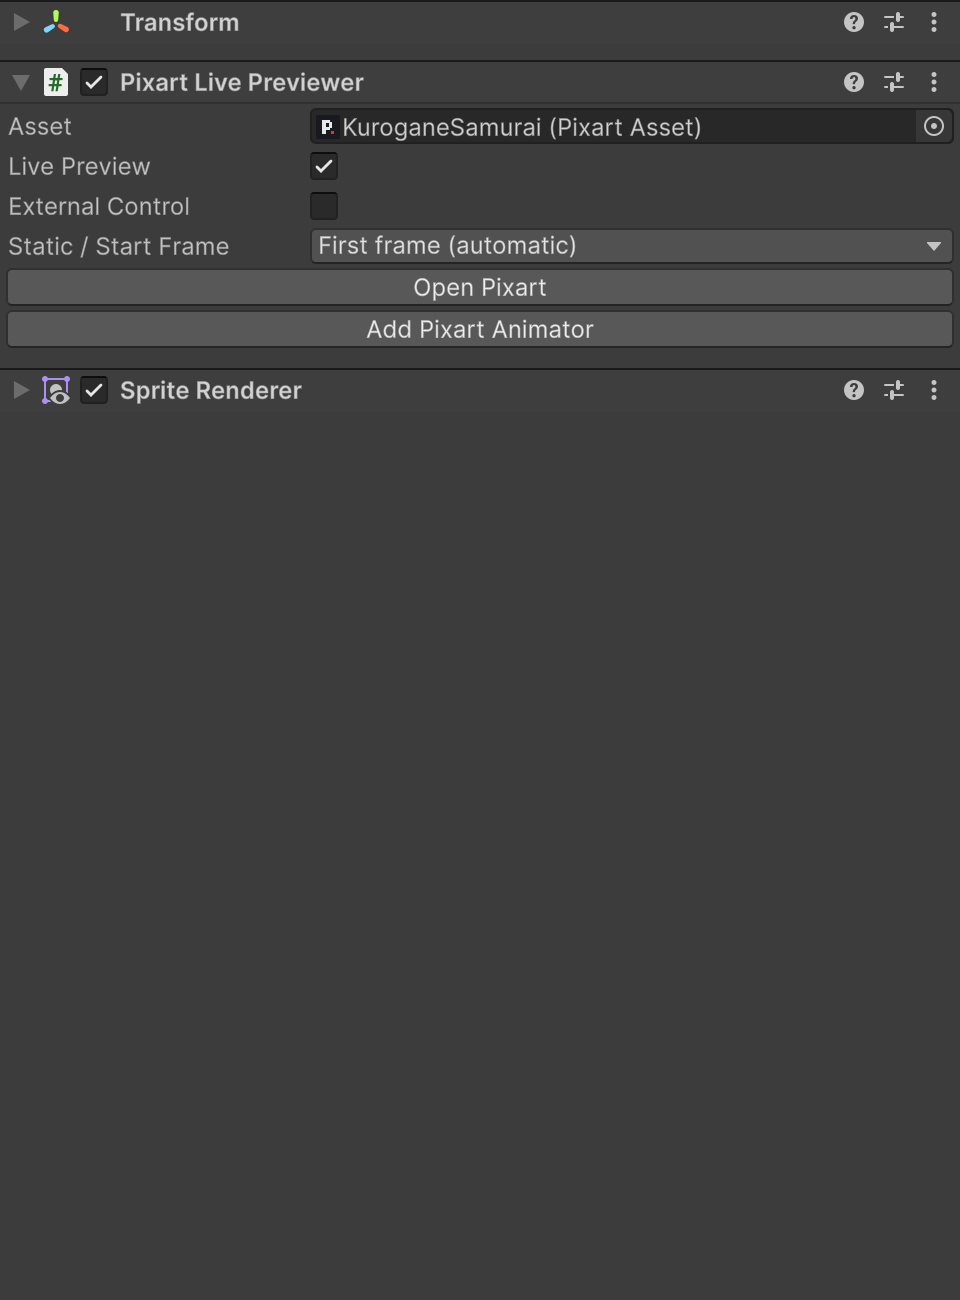
Keep View > Live Preview enabled in Pixart and Live Preview enabled on this component. Paint in the editor and check the Scene or Game view. This also works during editor Play Mode. Save before building; the player uses the saved artwork.
Static / Start Frame chooses the displayed frame when the object isn't using a named animation. Leave it at First frame (automatic) for a simple static sprite. With a named animation active, that range determines the starting frame.
Add animation when you need it
Click Add Pixart Animator in Live Previewer's Inspector, or use Add Component > Pixart > Pixart Animator. The Animator reads the asset from Live Previewer, so there isn't a second asset field to keep in sync.
Choose a starting animation and enter Play Mode. Play On Awake is enabled by default on newly added Animators. A static prop only needs Live Previewer; an animated character uses both. See runtime playback for Inspector controls and code examples.
Size, pivot and rendering
The document's pixels-per-unit and pivot settings come from Sprite > Canvas Size…. A 32×32 sprite at 16 PPU is 2×2 Unity units. Change these settings in the document if every use of that sprite should share them; use the GameObject transform for an instance-specific scale.
SpriteRenderer controls the material, tint, sorting layers, sorting order and flips. Use a sprite-compatible material for your project's render pipeline. A lit sprite material needs suitable lighting.
Use a Sprite directly
Expand a saved .pixart asset in the Project window to find its imported frame Sprites. Assign one to a standard SpriteRenderer as you would any other Sprite. These are persistent imported assets, so references survive normal saves/reimports.
A plain SpriteRenderer doesn't display Pixart's unsaved preview. Save the source to see changes there. For independent PNG output, use Export.
Let another component control the sprite
If a Unity Animator or your own script writes SpriteRenderer.sprite, enable External Control on Live Previewer. It stops Pixart from assigning the sprite, suspends live preview for that object, and pauses Pixart Animator playback.
Turning it off returns sprite control to Pixart. Call Play() on Pixart Animator if you want playback to resume. You can also use exported sprites and clips without either Pixart component.
What goes into a build?
Pixart imports saved artwork into textures and Sprites in the editor. A player loads those prepared assets; it doesn't parse the editable file, composite layers or create the entire sprite set at startup. Instances share the imported sprites while each Animator keeps its own playback state.
The editor and palette-authoring code stay in the editor assembly. Exported PNGs and clips can be used in a project without Pixart.