
Drawing tools
Pencil, spray, eraser, fill, shapes and the canvas eyedropper.
The right overlay groups tools by what they do. Its flyouts open to the left, above the Size and Power sliders. Click an expandable button to choose another tool in that group. It remembers your last choice, so the button might say Spray instead of Pencil, or Ellipse instead of Line.
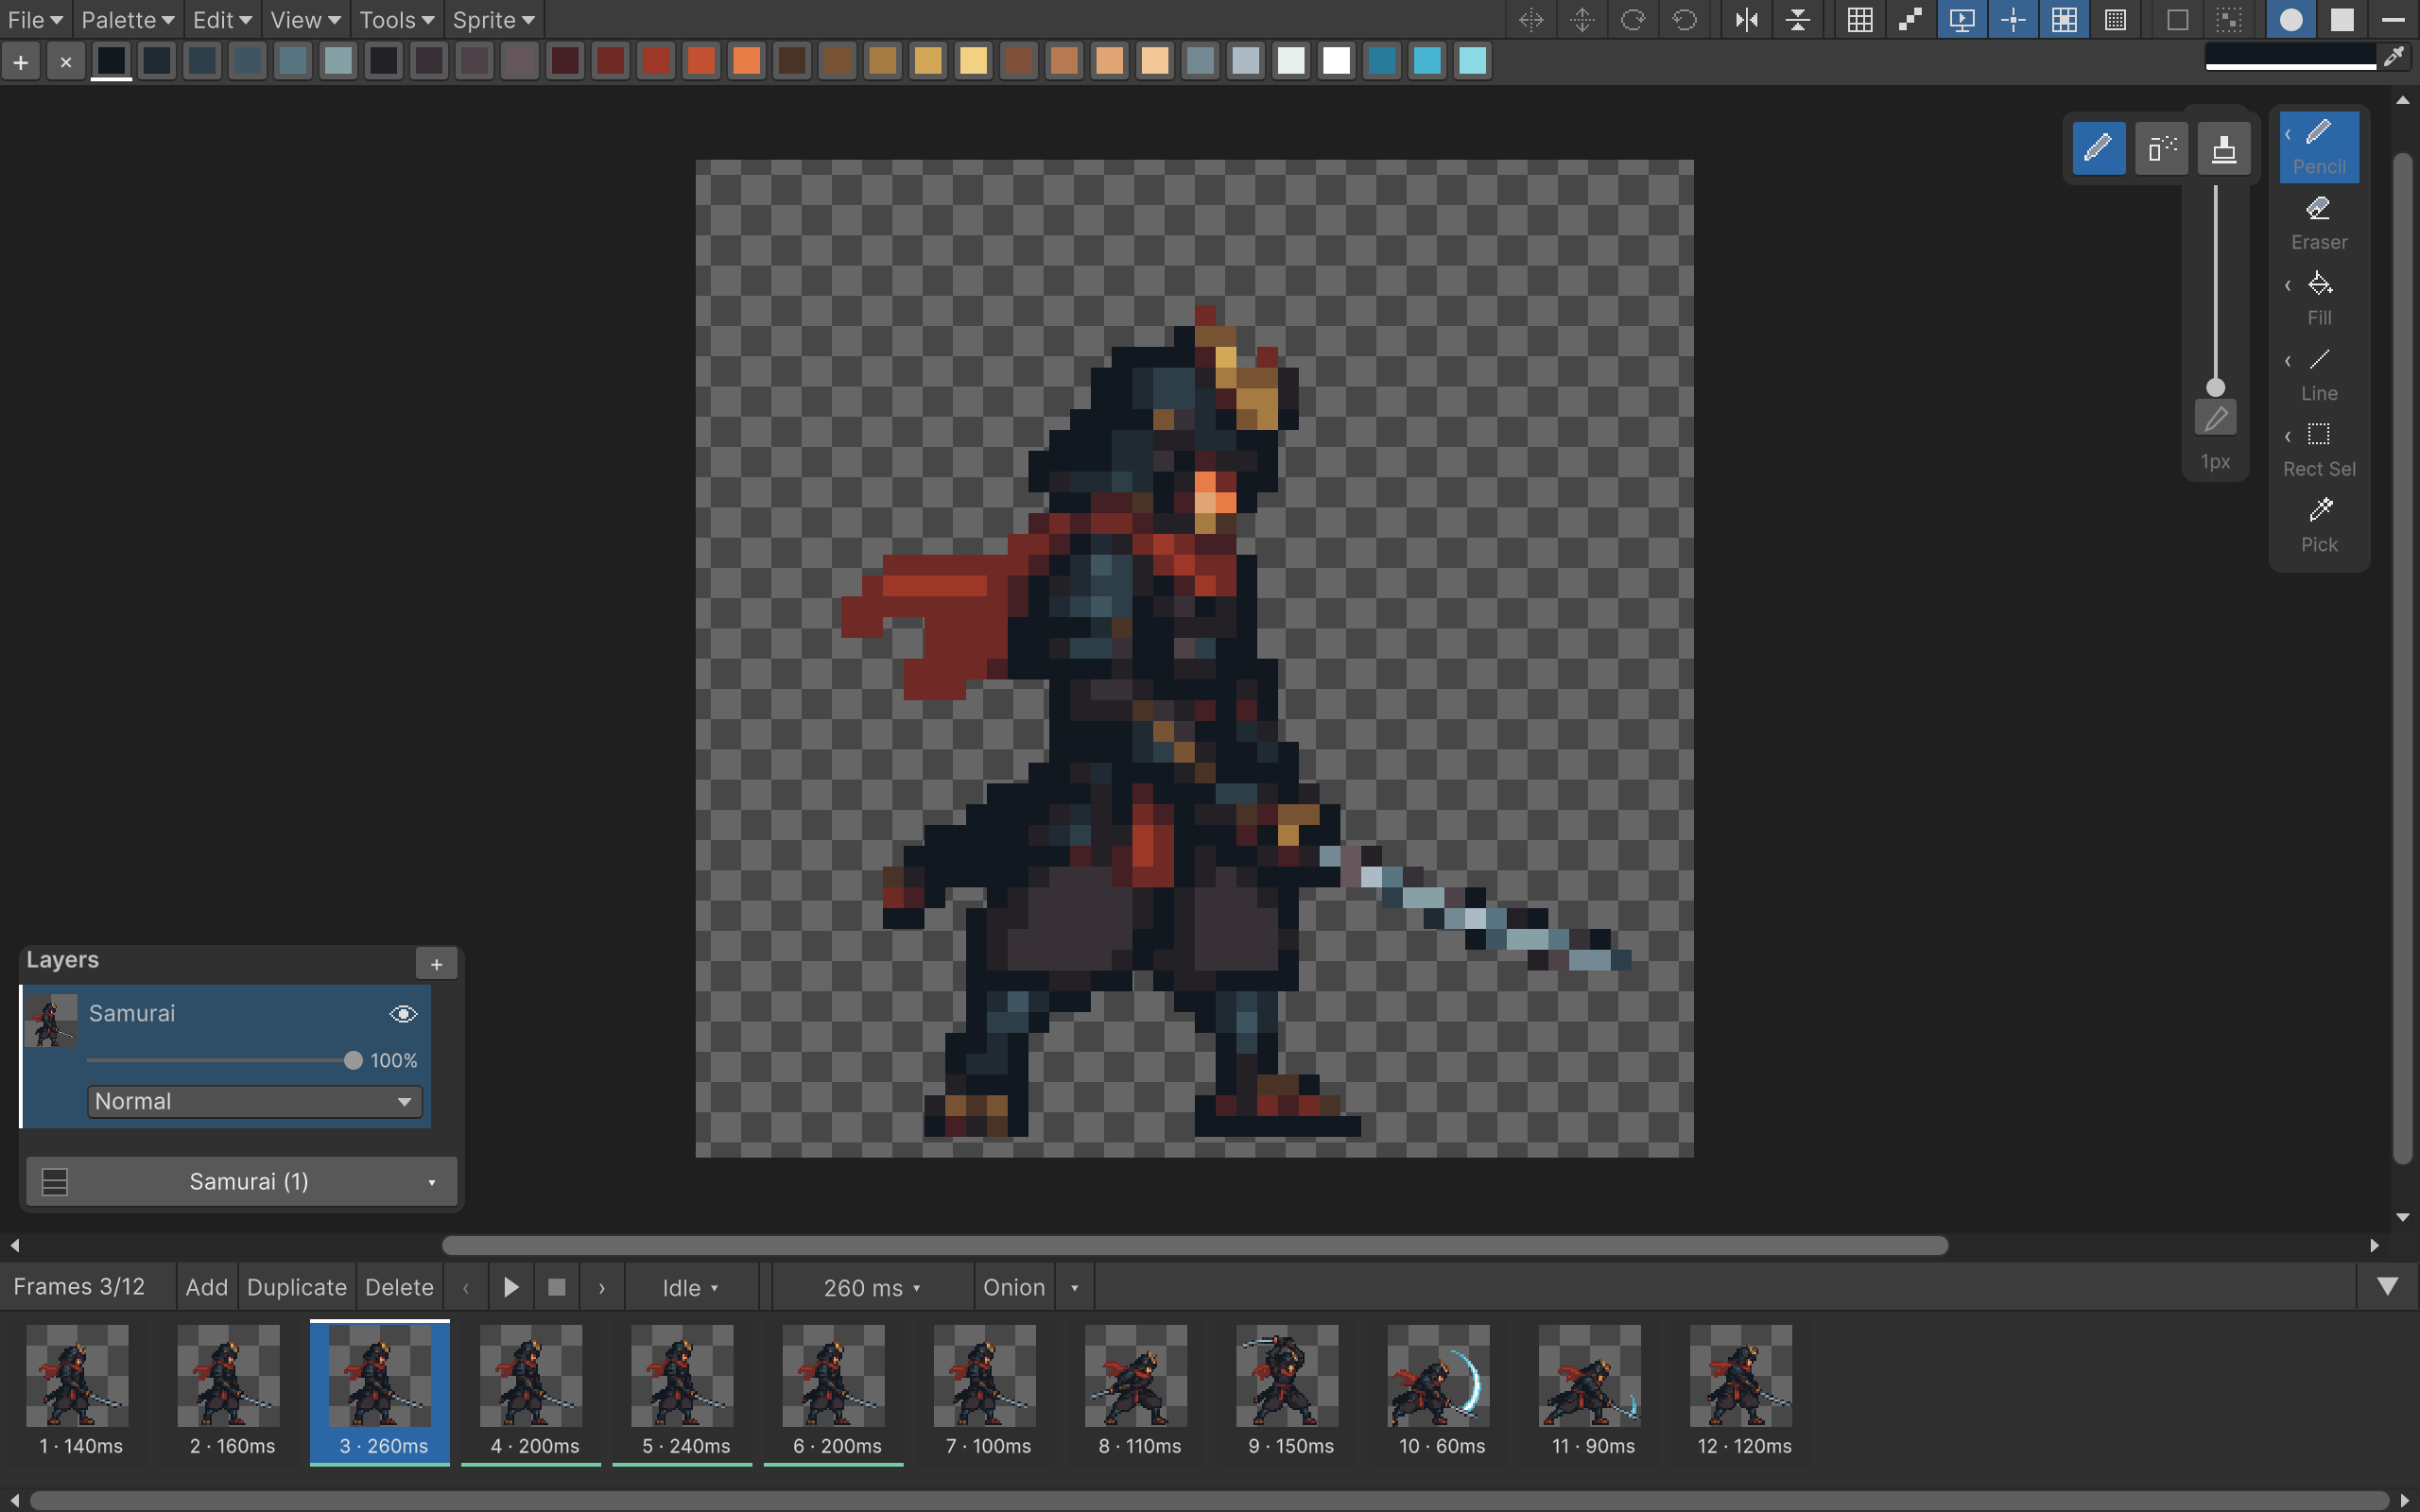
Pencil, eraser and brush tips
B selects Pencil; E selects Eraser. Use the Size slider or [ / ] to change size from 1 to 32 pixels. Fast strokes stay connected even when you drag quickly.
With Pencil, hold Shift while dragging the left mouse button to lock the stroke horizontally or vertically. The first movement chooses the axis, which stays fixed even if the pointer drifts. Release Shift to draw freely. You can also press Shift partway through a stroke; the lock starts from the last painted pixel. Releasing and holding Shift again chooses a new axis. The cursor follows the locked position.
The three tip buttons at the top-right select Circle, Rectangle or Line. Circle is the default. They apply to Pencil, Eraser, Spray and Line. Custom brushes use their source mask; other shape tools use their own outlines.
For even sizes, the footprint can extend one extra pixel to the right/bottom of the cursor. The hover outline shows what will be painted.
Pixel Perfect, in Tools and on the top bar, applies to the 1 px Pencil. It removes redundant corners as you draw a diagonal stroke. It doesn't clean up existing lines or change larger brushes.
Spray
Choose Spray from the brush flyout. Size sets its footprint; Power sets how densely it paints. Hold still to build coverage or drag to spread it across the canvas. Circle, Rectangle and Line tips work here too.
A complete press/drag/release is one undo step. Press Escape during the stroke to cancel it.
Pen pressure
Pencil, Eraser and Spray have a pen toggle on the Size slider. Spray has another on Power. Enable either to use pressure; the slider then sets the maximum. Configure minimum values, the response curve and the pressure meter in Tools > Pen Settings…. See tablets & pen pressure for setup and examples.
Custom brushes and shape tools keep their fixed behavior. Pixel Perfect applies only when Pencil's maximum size is 1 px.
Fill
Open the Fill flyout to choose Flood Fill or Fill Selection.
Flood Fill (G): choose a palette color and click. Without a selection, it replaces adjacent pixels with the same palette index on each selected layer and frame. Adjacency is four-way: up, down, left and right. Diagonal contact alone doesn't connect two regions.
With a selection, Flood Fill replaces the clicked index across the entire mask, including disconnected islands. Other indices and the gaps between selected islands stay unchanged.
Flood Fill doesn't sample the visible result of all layers. Two palette slots with the same RGB value are still different indices for Fill. If a fill stops somewhere unexpected, check the layer and palette slots. The magic wand has different matching rules; see Selections.
Fill Selection: click anywhere on the artwork to fill every selected pixel, including transparent pixels. Without a selection, it fills the whole frame on each selected layer. It ignores the original colors.
For a quick recolor, select the areas with the magic wand, choose a palette color, then press F while the canvas has focus. The selection and current tool stay active. If you moved or resized the selection first, it fills at that position. With no selection, F still fits the canvas; use the Fill Selection tool to fill a whole frame.
Select transparent slot 0 to fill with transparency. Both fill modes use one undo step across the selected frames and layers.
Lines and shapes
| Tool | Shortcut | Behavior |
|---|---|---|
| Line | L | Drag between endpoints; uses the current size and tip |
| Rectangle | R | Drag a one-pixel outline or a filled rectangle |
| Ellipse | O | Drag an ellipse outline or a filled ellipse |
| Lasso Shape | Shape flyout | Trace a freehand path; release to close and paint it |
The Filled Shapes icon on the top bar switches Rectangle, Ellipse and Lasso Shape between outline and solid modes. The same toggle is under Tools > Filled Shapes. Outlines stay one pixel wide; these tools don't use the Size slider. Line keeps its size and tip settings and doesn't use the fill toggle.
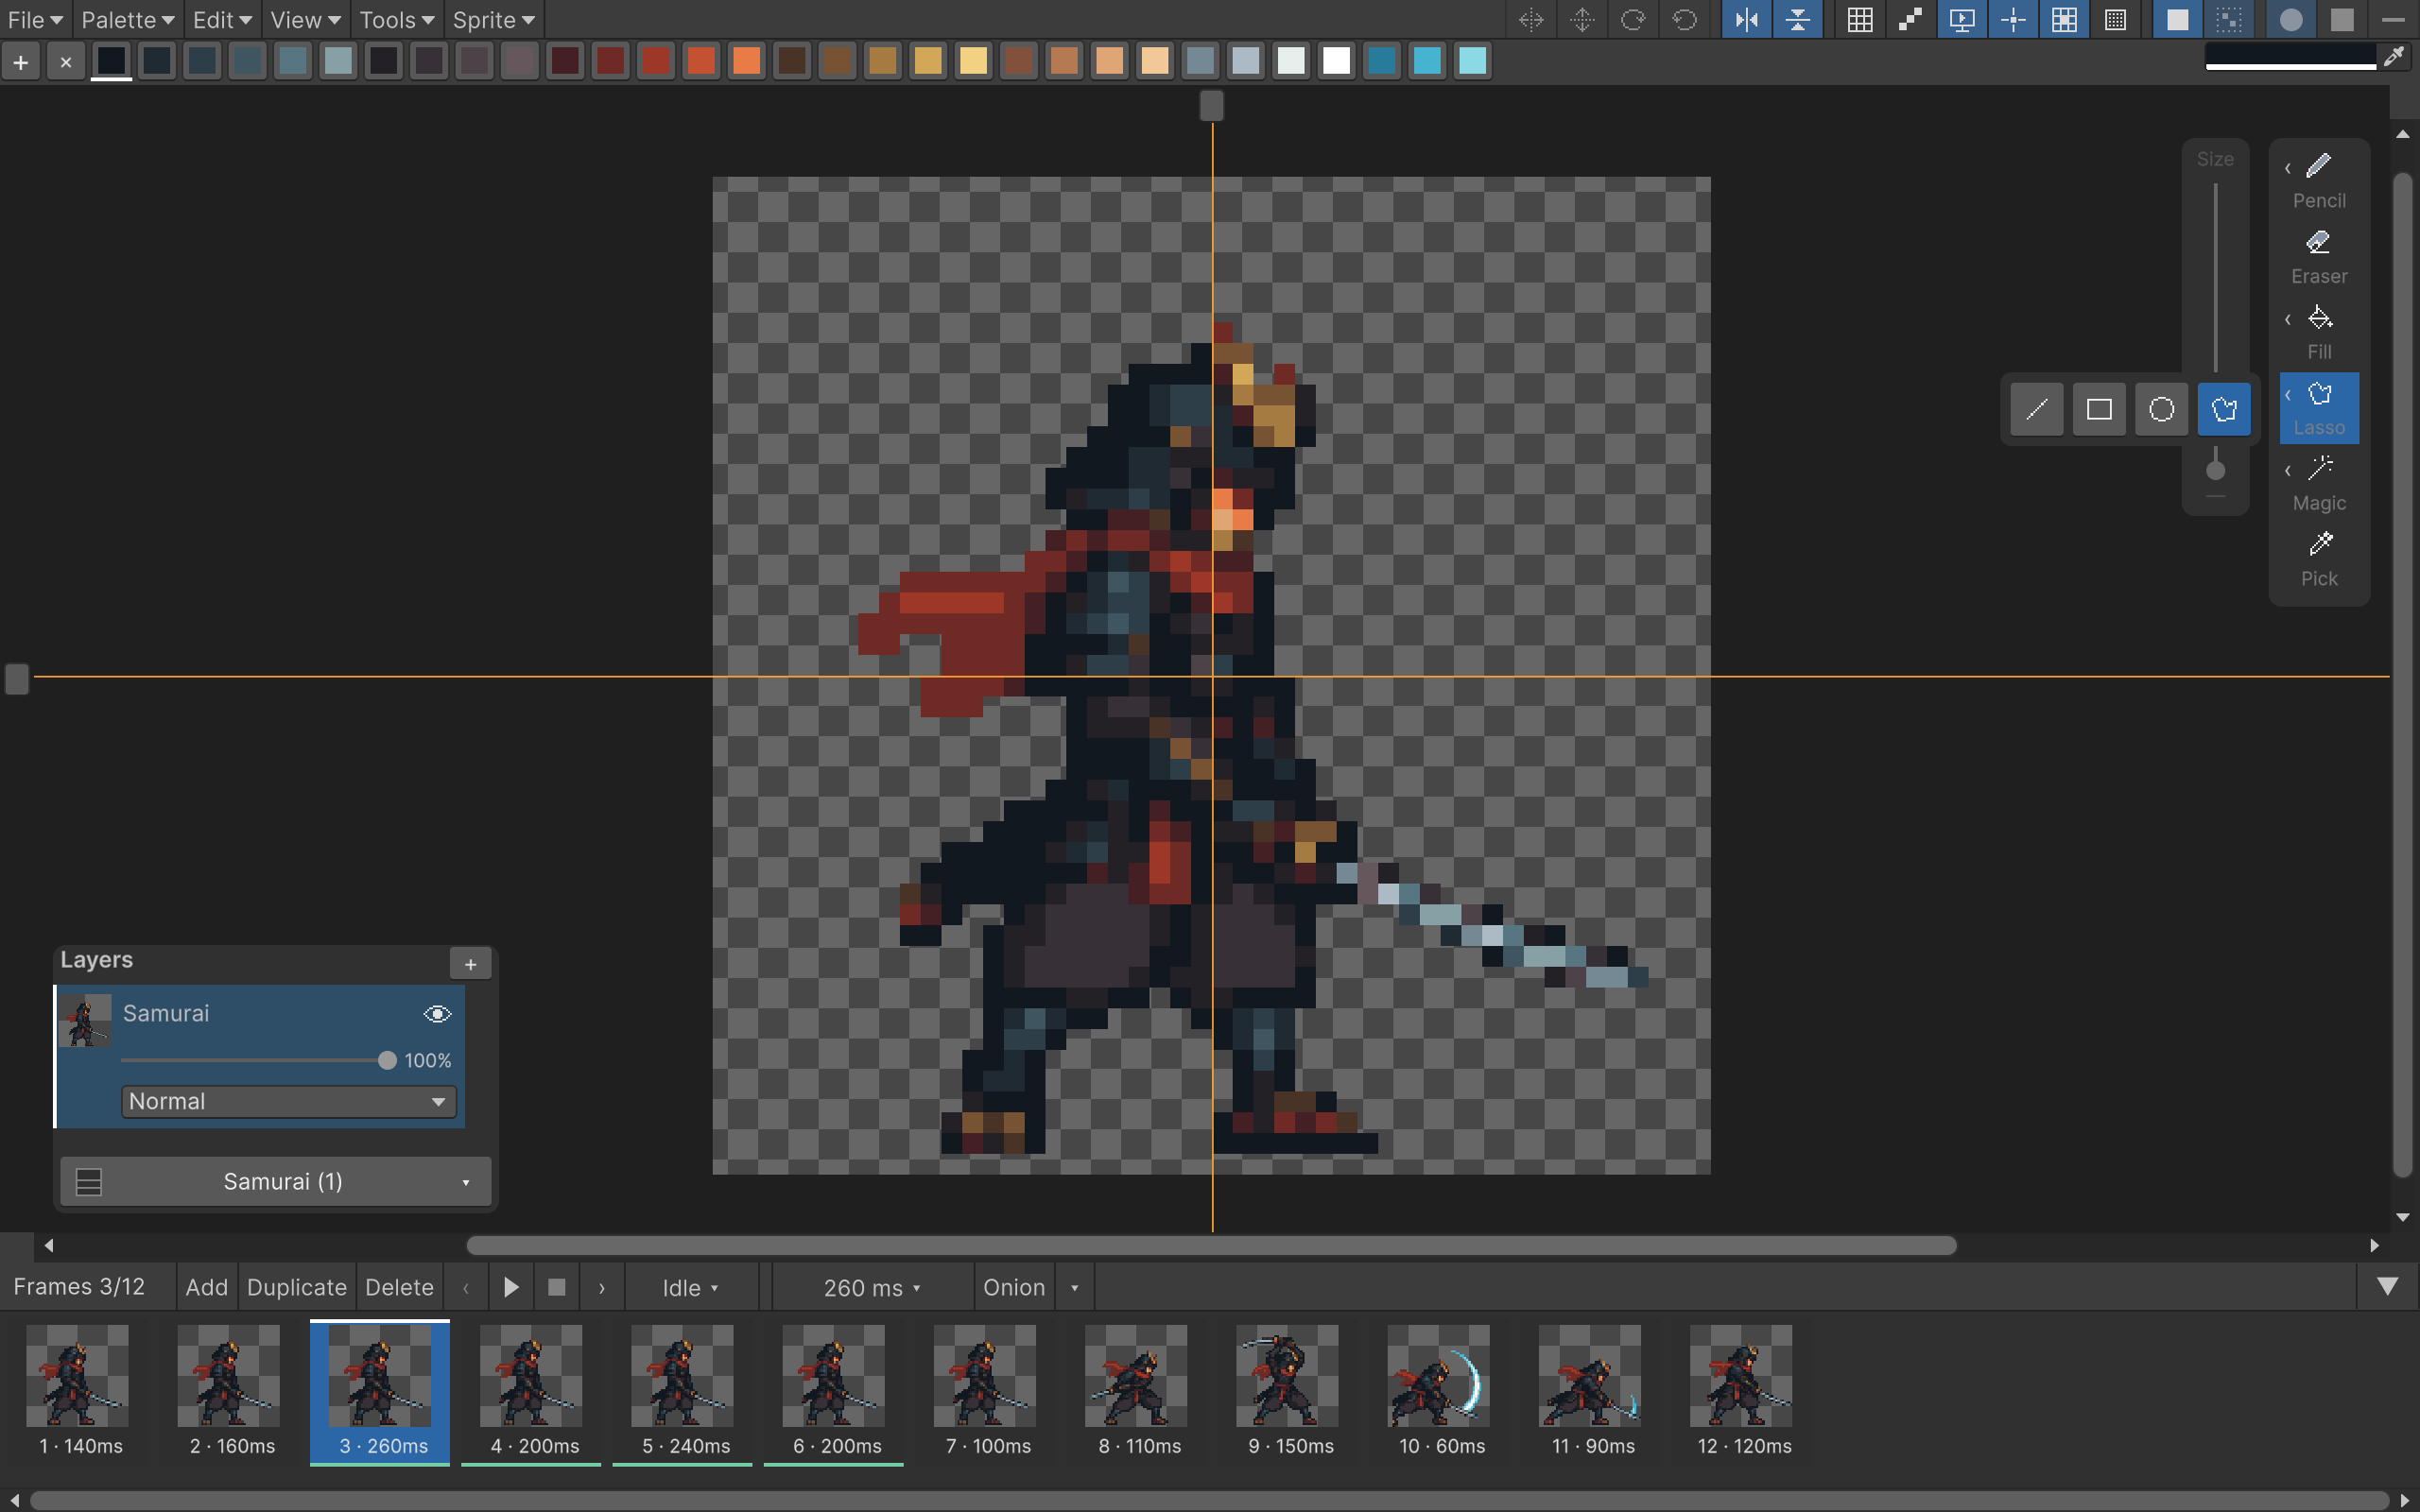
Hold Shift while dragging for horizontal/vertical/45° lines, squares or circles. Release the mouse to keep the shape. Escape cancels the current gesture.
Draw a lasso shape
- Open the shape flyout and choose Lasso. The selection flyout has a separate Lasso tool, so make sure you're in the shape group.
- Pick a palette color and set Filled Shapes to the mode you want.
- Press and drag around the shape. Pixart shows a path outline while you draw, including the closing edge back to the start.
- Release. Pixart closes the path and paints the outline or interior in one operation.
The artwork isn't painted during the drag. Press Escape before releasing to discard the path, or Undo after release to remove the finished shape. Mirror drawing and selection clipping work with lasso shapes too.
Eyedropper
Click Pick on the right, then click a pixel on the canvas. Pixart selects its palette slot and returns to the tool you were using before Pick.
For a temporary switch, hold Alt. Click to pick a color, then release Alt to return to your previous tool. You can make several picks while holding it.
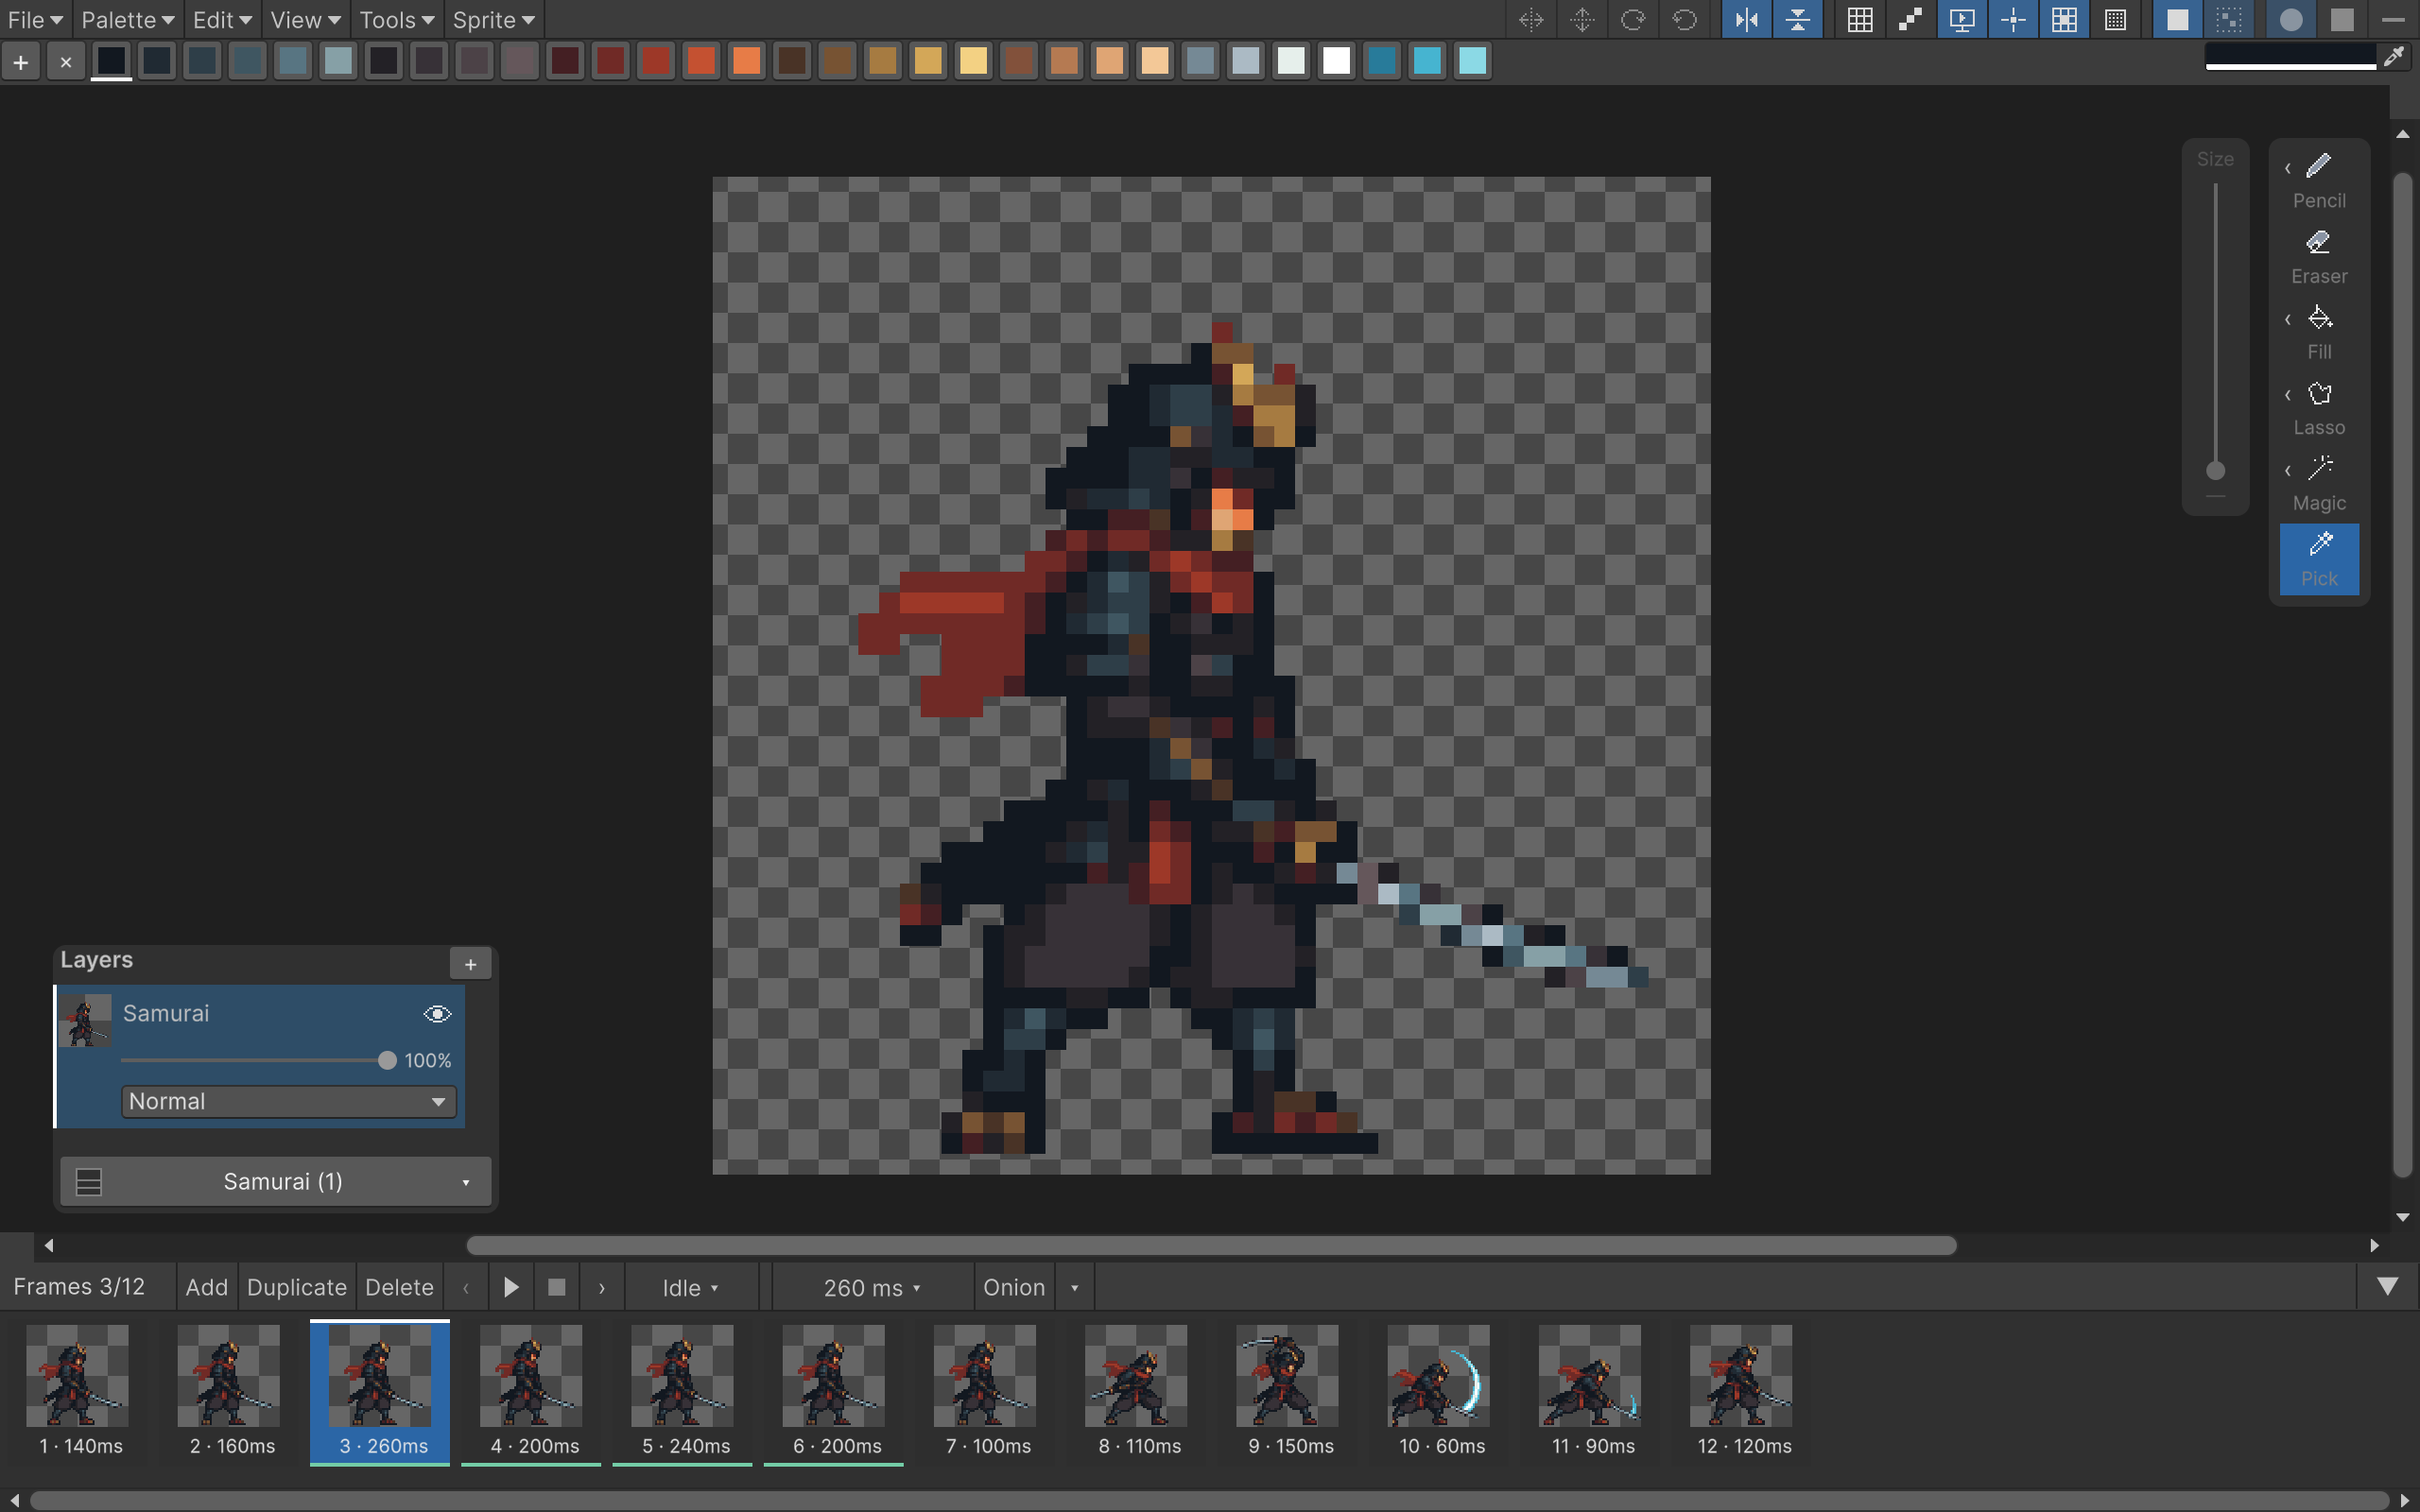
The picker finds the topmost visible, nontransparent indexed pixel. Hidden and zero-opacity layers are skipped. Clicking empty canvas selects transparent slot 0. With blending or layer opacity, the visible composite can look different from the original palette color it selects.
This is separate from the color field's screen eyedropper, which edits the selected swatch's RGBA value.
Editing scope
Painting stays inside an active selection. With more than one frame or layer selected, the operation applies to all of them. Check multi-edit for examples. A hidden or locked layer in that set blocks the edit until you show/unlock or deselect it.
For repeating patterns, see custom brushes. For symmetric drawing, see mirrors.